Autodesk BIM 360/ACC Configuration

As a result, when using ACC as a filing location, you may incur costs in the form of Autodesk Flex tokens.
You can find more information about these API changes on the following web page: Autodesk - API pricing changes and subscription pilot
Alternatively, you can contact Pentagon Solutions Support:
Email: Support@PentagonSolutions.com
Tel: +44 (0)2890 455355 (Option 3)
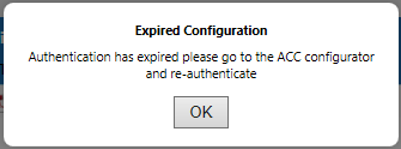
If you have been greeted with a "Expired Configuration" message in the tool, please jump to the Re-authentication section.
Configuration
To configure a BIM 360 Docs / Autodesk Construction Cloud (ACC) Extranet definition:
- Configure the integration as detailed in Autodesk BIM 360/ACC Integration
- Add an Autodesk BIM 360 / ACC definition to the desired project as detailed in the parent topic.
- Perform the below steps:
Step 1:
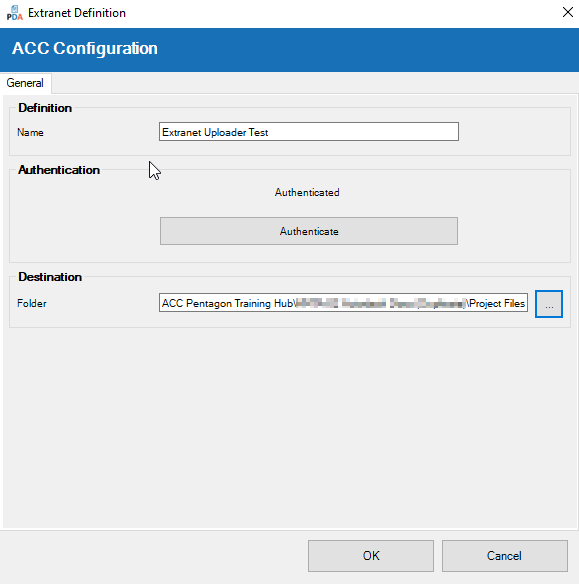
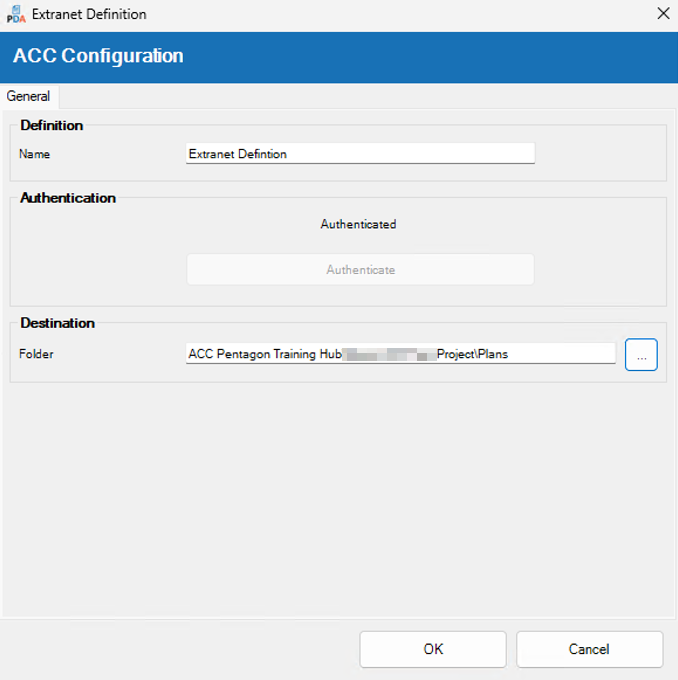
Once you select Autodesk Construction Cloud in the 'New Definition' dropdown, the 'ACC Configuration' dialogue box is displayed.
Specify a Name for the definition, this is the name displayed to the user when requesting an upload.

Step 2:
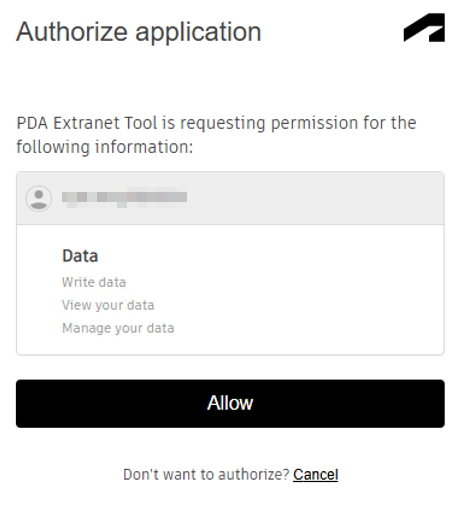
You must then authenticate by clicking the 'Authenticate' button. You are redirected to a web browser page. Click 'Allow'.
Step 3:
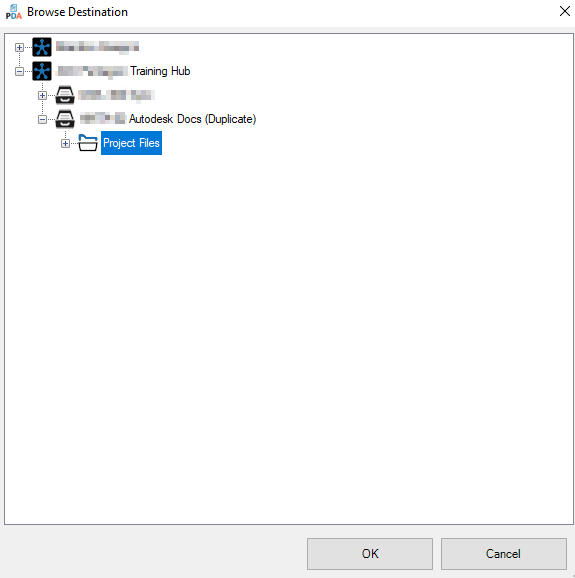
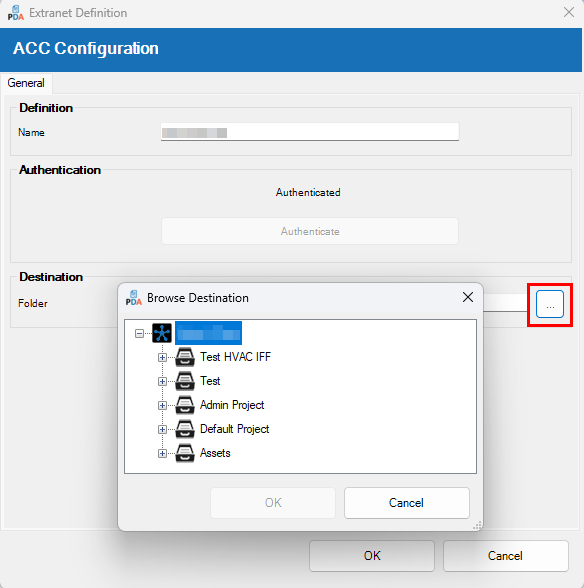
Once authenticated, you can return to the 'ACC Configuration' dialogue box and click the browse button (...) to select a destination folder.
This displays the 'Browse Destination' dialogue box and allows you to navigate the structure in BIM 360 Docs/ACC.
Select the upload destination folder and click 'OK'.
Step 4:
Please review your selections and once you are confident you have completed the configuration, click 'OK' to add the extranet definition to the project.
This completes the configuration steps. You can now upload objects to ACC. See Creating an Upload Request
Re-authentication
Once authenticated your ACC definition will be valid for 12 days from creation.
If you do not upload using this authentication within 12 days from creation, your refresh token will expire and you will need to re-authenticate.
If this happens you will be presented with the following message when trying to upload:
If you require to re-authenticate please:
1: Open your Extranet Definitions dialog.
2: Select the ACC configuration which you want/need to re-authenticate
3: You must then authenticate by clicking the 'Authenticate' button. You are redirected to a web browser page. Click 'Allow'. Once you return to the ACC Configuration dialog, you should see the 'Authenticate' button is now greyed out and the text above it says “Authenticated”.
4: Once authenticated, you have the opportunity to ensure the destination folder is what you expect by clicking the browse button (...) to select a different destination folder or keep your previous selection.
5: As a final step, please review your selections and, once you are confident you have completed the configuration, click 'OK' to save the Extranet definition to the project.
Note: With every upload the refresh token will try to update itself automatically. An end user should only have to re-authenticate their definition if it has been inactive for over 12 days.