CDE WIP Workflow
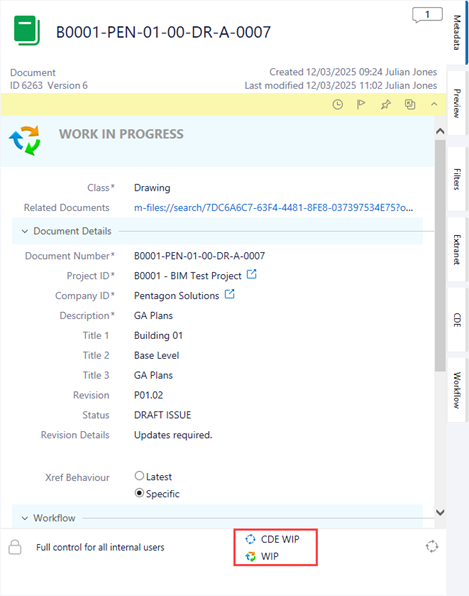
ISO 19650 documents get assigned to a workflow called ‘CDE WIP’ which is shown in the examples below. When a document is first created it will be in the WIP state of this workflow. This information is shown at the bottom of the metadata card:
When you have completed work on the document and you are ready to send it on for approval, you can do this by clicking on the workflow state ‘WIP’ and any available transitions to another workflow state will be shown:
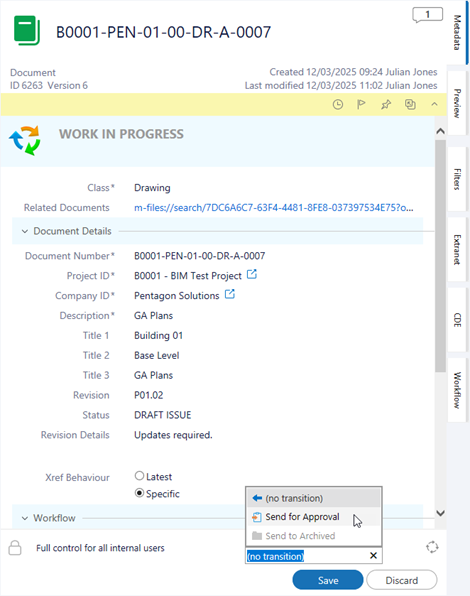
In this case we have one transition we can select which is ‘Send for Approval’. There may be other transitions which only admin users can carry out which are not available such as ‘Send to Archived’ which will be greyed out and unelectable. Select the required transition, then click ‘Save’ to save the metadata changes and the workflow transition will be actioned. It is also possible to action a workflow transition from the task area of the client, however this only works when a single document is selected, whereas the workflow on the metadata card allows for batch processing multiple documents.
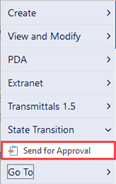
In the default configuration the task bar workflow state transition change will also prompt for a comment to be added:
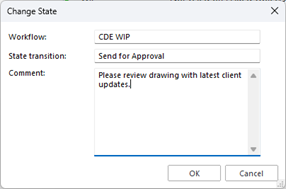
This comment is added to the comment thread of the selected document. Click ‘OK’ and the workflow transition will be actioned.
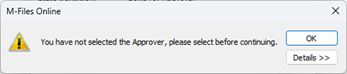
Workflows have checks to ensure that required metadata has been completed before progressing in the workflow. In this case as we are sending the document for approval, it is important that the ‘Approver’ metadata has been completed so that the document can be assigned to the approver. If it is missing, then a dialog will be shown with details on the missing metadata:
If the document is an AutoCAD DWG file which has Xrefs, there is also an automatic check that is carried out when sending the DWG file for approval. The DWG will be checked for Xrefs, and if any are missing or of a type that is not able to be bound, the DWG will be automatically rejected back to the user who has sent the DWG for approval.
Click ‘OK’ on the message dialog to close it. Then return to the metadata card and complete the required metadata before sending the document for approval again. The metadata card will update to reflect the new workflow state of the document:
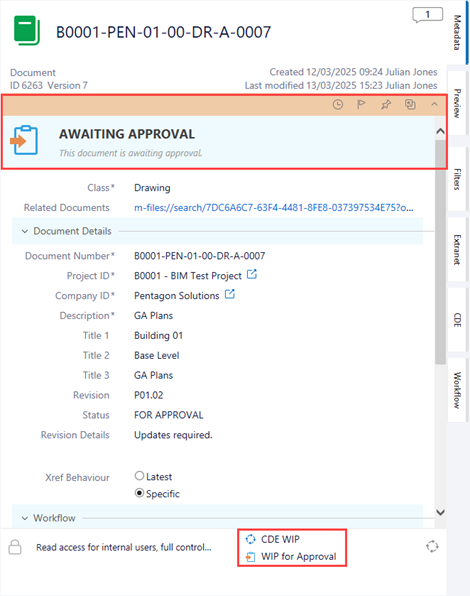
Certain other actions may also take place during the workflow transition. For example, metadata can be automatically synchronised to AutoCAD DWG files / Office documents, and a PDF rendition could be automatically generated for the document depending on your specific vault configuration (Please note, Revit renditions are not automatically updated in workflow). The document is now at the ‘WIP for Approval’ state and will have been automatically assigned to the ‘Approver’ user (so it will appear in their ‘Assigned’ view), who will have also received an email notification. The permissions on a document will also change as it goes through the workflow, from edit access for everyone whilst it is as WIP to read only once it is Approved.
The workflow transitions available will now be different. We can see that we have two options, to either mark the document as ‘Approved’ or to ‘Reject’ the document.
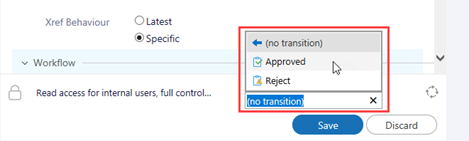
Rejecting the document will notify the user who sent it for approval that is has been rejected and move the document to a ‘Rejected’ state where the user can pick it back up and move the document back to the ‘WIP’ state again to carry out changes before re-submitting for approval. The internal section of the revision will also be automatically incremented so for example P01.01 would become P01.02. Selecting ‘Approved’ will move the document onto the ‘WIP Approved’ state:
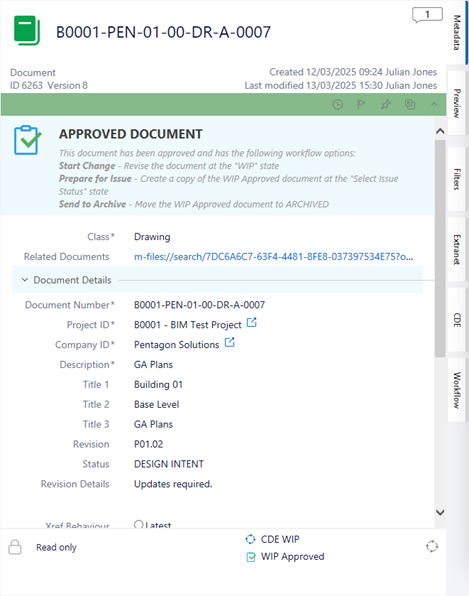
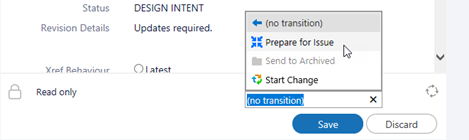
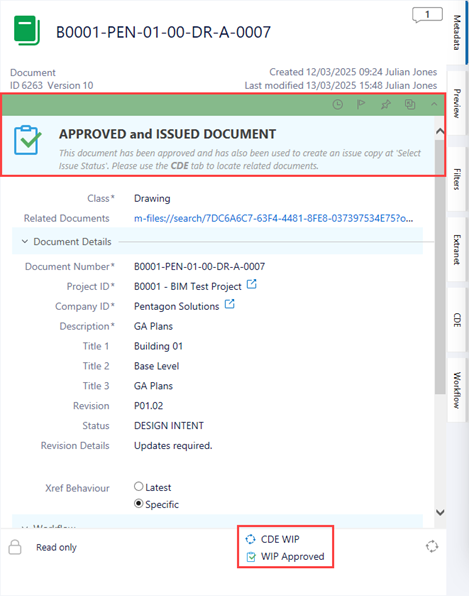
At this state as the document is approved, it is set as read only for all users and no changes may be made. At this point you have two transitions available, you can either ‘Prepare for Issue’, which sends the document through the issue process, or you can ‘Start Change’ which will move the document back to the ‘WIP’ state which will also increment the internal revision (e.g. P01.01 to P01.02).
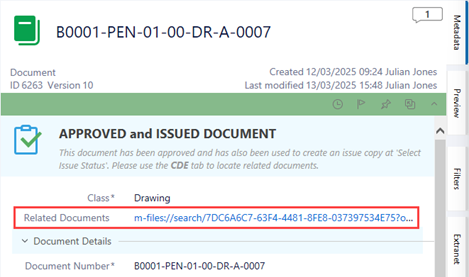
When selecting the ‘Prepare for Issue’ transition, this actually makes a copy of the ‘WIP Approved’ document in what is termed the ‘Issued’ area of the workflow. This ensures that the Common Data Environment WIP and issued areas for Shared and Published are kept separate and allows easy tracking of issued information. The ‘WIP Approved’ document is moved back to this state and is marked as having been issued:
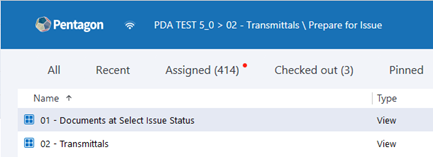
At the same time the copy of the ‘WIP Approved’ document has been made and is waiting in the ‘Select Issue Status’ workflow state. This can be found easily by using a view for this purpose, using the ‘CDE’ metadata pane tab or by simply clicking on the ‘Related Documents’ search url:
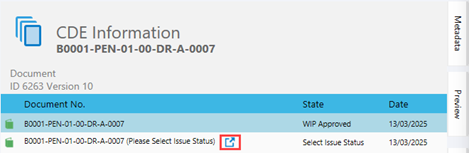
Using any of the above methods will allow you to access the document at the ‘Select Issue Status’ workflow state. In the screenshot below we have used the ‘Related Documents’ link, which will open a PDA session showing all related documents which will include the WIP document, and any other documents which have been previously issued at Shared or Publish and also any Archived documents.

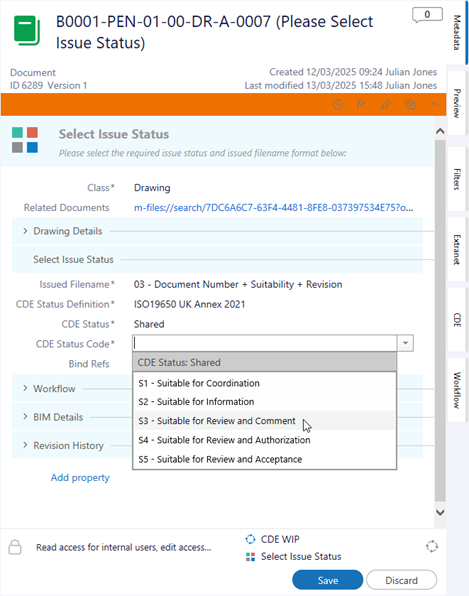
Viewing the metadata pane, you will see that you are able to set the required suitability status for the document, the filename format that you required for the issued object, and if is an AutoCAD DWG you are able to bind the Xrefs:
Once this has been set as required, you are able to move the document on in the workflow via the ‘Issue’ transition:
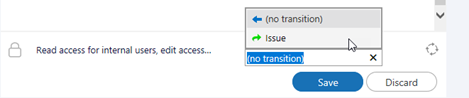
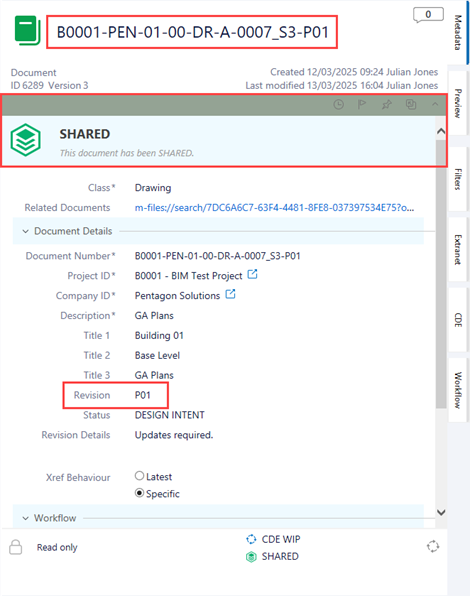
Select the ‘Issue’ transition, and then click ‘Save’. The document will now be processed based on the metadata selections made. Properties are synchronised to the AutoCAD DWG / Office documents, and a PDF is generated. This includes the management of revision formats (P01 for Shared and C01 for Published for example):
Please Note: A Project rule may be set that disables the ‘Select Issue Status’ workflow state. When this is the case, the suitability codes etc. are all shown at the WIP stage and have to be completed. Then, when the document is at ‘WIP Approved’ and ‘Prepare for Issue’ is selected, the document is automatically processed and the Shared / Published issued object is created straight away without any further interaction required.
In the case of a Revit sheet, the ‘Prepare for Issue’ workflow transition is blocked, and a dialog will be shown if you try to action this transition:

As the dialog states, the issued Shared / Published sheet must be published from Revit using the PDA ribbon ‘Publish Sheets’ function as outlined in section Publish Sheets. This is due to read only formats being generated from Revit that we are not able to automatically update in the workflow.
At this point the workflow can be repeated for new revision of the document. When the document is issued as Shared / Published again it will update the existing issued object (maintaining the history of the document object) and will also create a copy of the previously issued document in the ‘Archived’ section of the vault to comply with the Common Data Environment requirements.