Part 3: Searching
Google-like searching
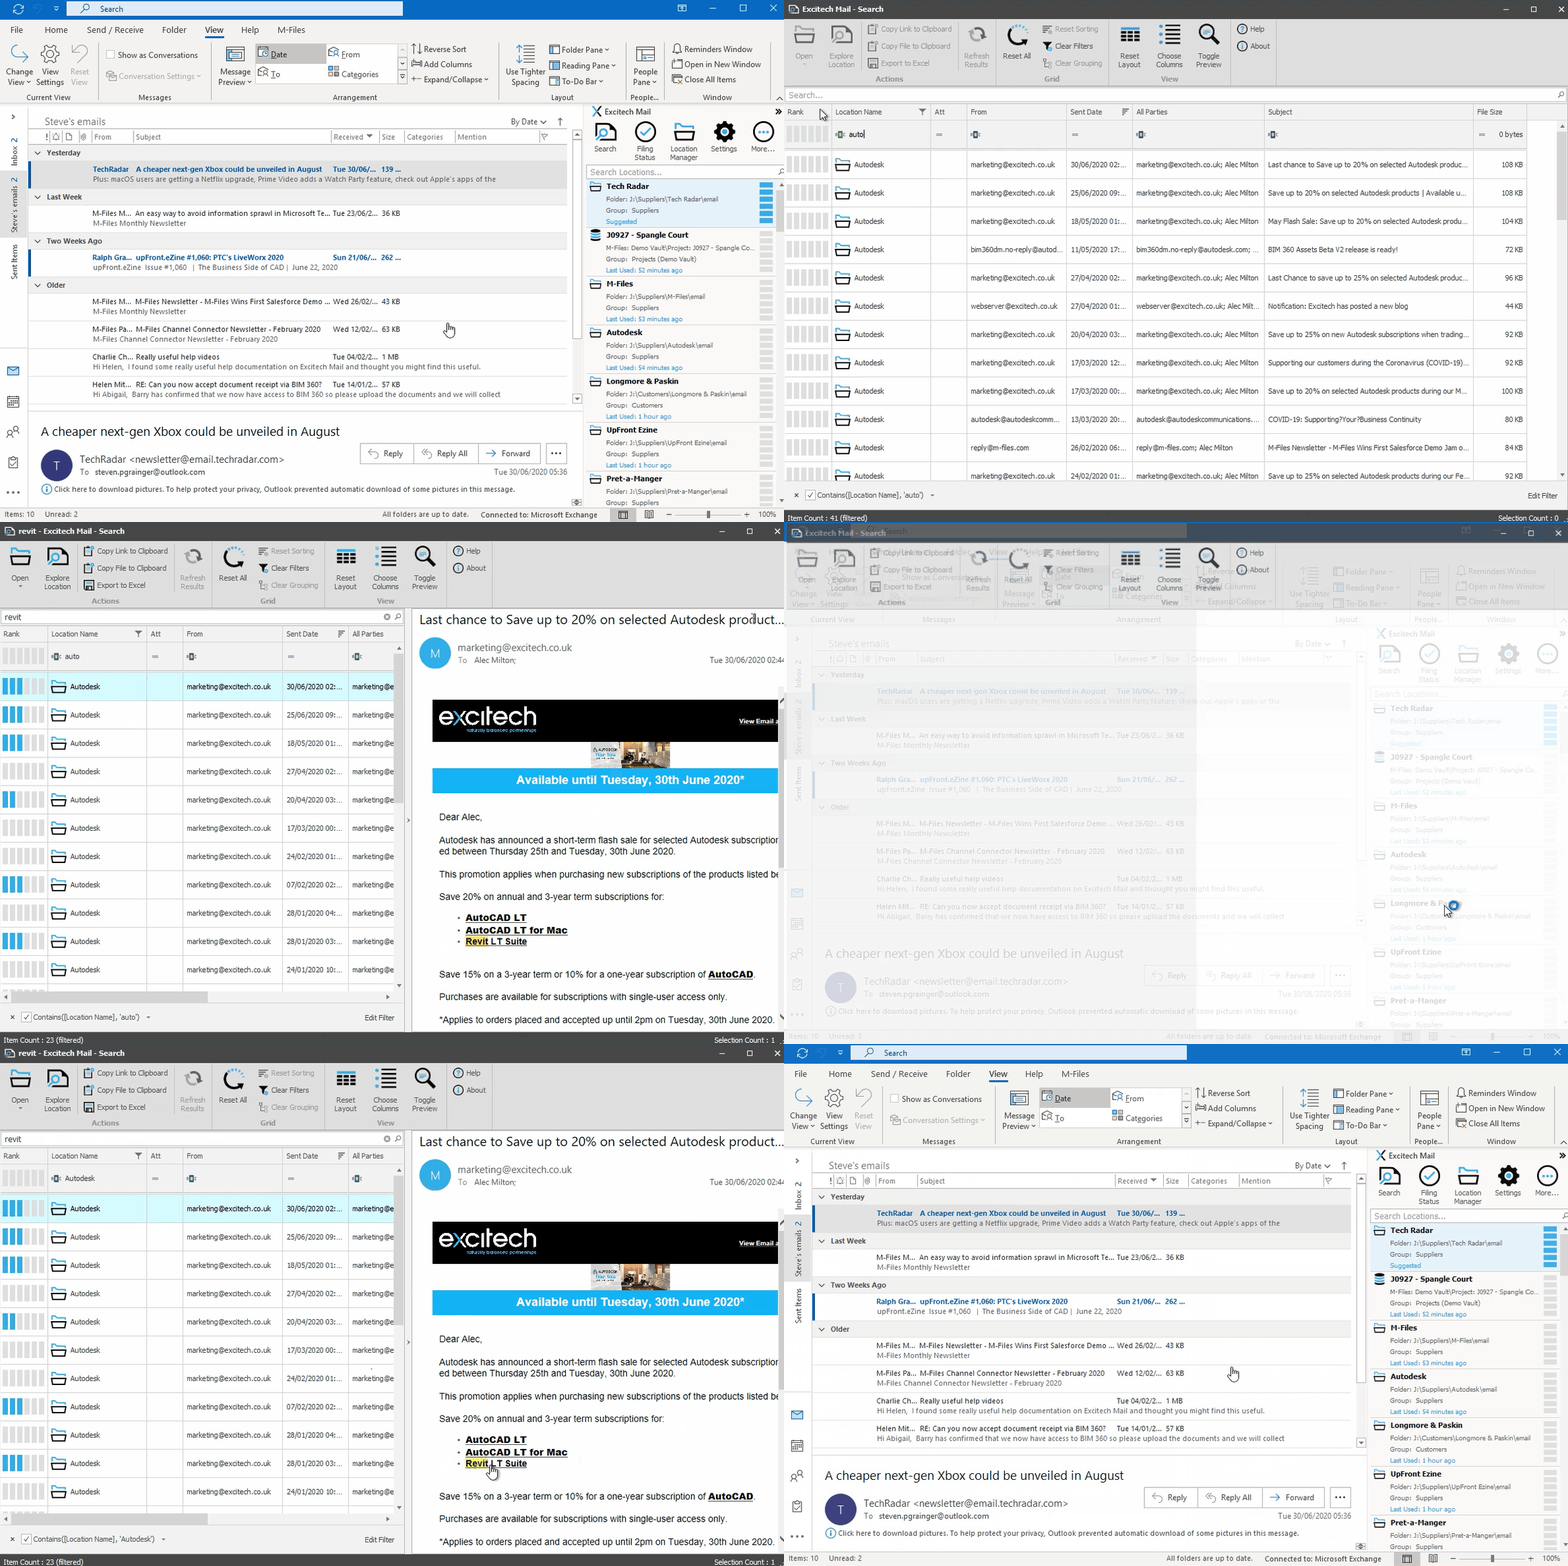
- Show where to find the search button in Outlook

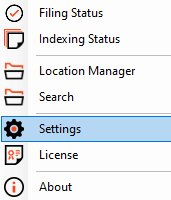
- Show that it and other buttons are also available via the tray icon

- Show how the simplest search they can do is to type some text
 TIP: If you pointed out a word or phrase in one of the messages you filed earlier, be sure to use this as your search term
Show how the search can be started from: the tray icon, the Outlook menu or by right-clicking a tile.

Using the Preview
- Toggle the preview and show how the keyword that you entered has been highlighted in the preview
- Show how you can select text from the preview and use CTRL+C to on the keyboard to copy text. For example paste it into a new message.
Sorting and filtering columns
- Explain that when they start a new search window, all messages will be shown and the list will be sorted by date with the latest at the top
- Explain that if the search window is left open and their colleagues file messages, the 'Refresh Results' icon will become enabled on the Ribbon menu, indicating that there are new messages. Hitting this button will update the results
- Click on a number of column headings to show how the list can be sorted by that column and how a second click reverses the sort order
- Filter on the 'To' column by typing the first name or surname of a recipient. Then filter further by filtering on the date, or subject.
- Explain that search terms are combined and allow users to quickly refine to details down to what they are seeking
- Show how the 'Reset All' button clears the search criteria
- Show how the sliders on the 'Att' column allow you to find messages with a certain number of attachments.
- Show how the 'Between' option on the date filtering enables you to pinpoint a particular period.
Multiple Search Windows
- Explain that candidates can search even when Outlook is not running by starting the search from the tray icon
- Explain that they can have multiple search windows but that many windows will have an impact on their RAM usage
