PentagonDocs Assistant Administration Utility
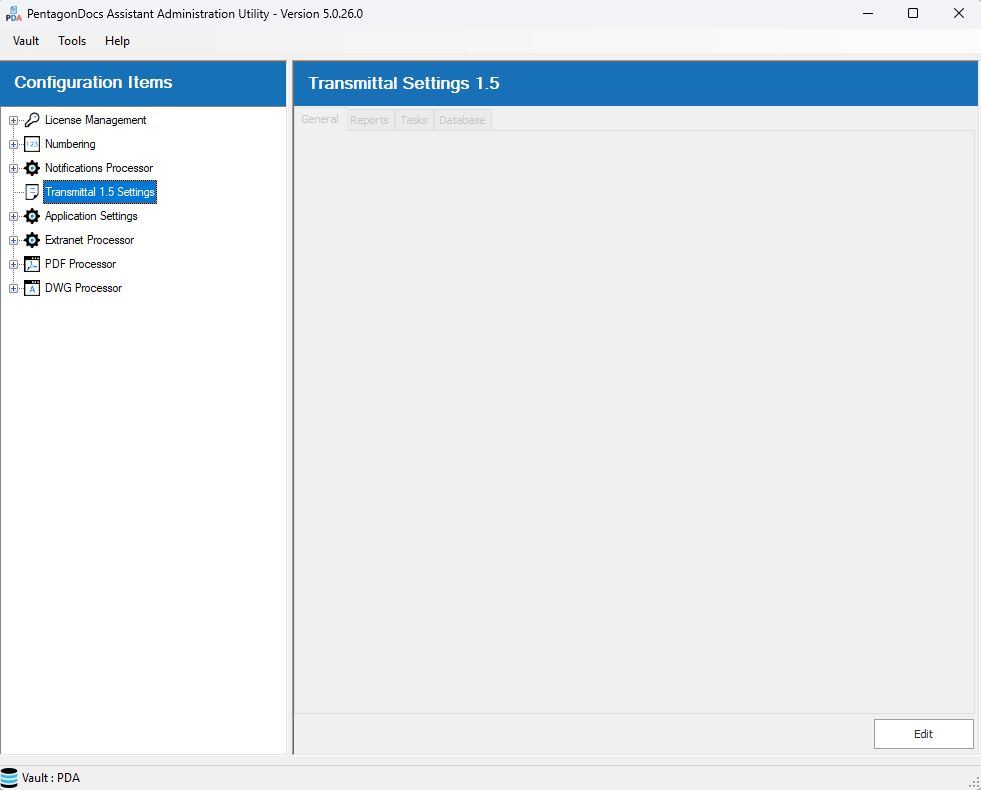
Most of the settings for the vault's Transmittals are configured in the PentagonDocs Assistant Utility, in the "Transmittal 1.5 Settings" section.
The PDA Admin utility is an optional component when installing the PentagonDocs Assistant Client.
Note: your login needs "Full Control of the vault" permissions to save changes here. Please only assign these temporarily for logins used to access the vault for every day work: it can bypass various controls and cause unintended consequences.
The information presented below will help you setup the Transmittals V1.5 application to match your vault-specific needs.
General
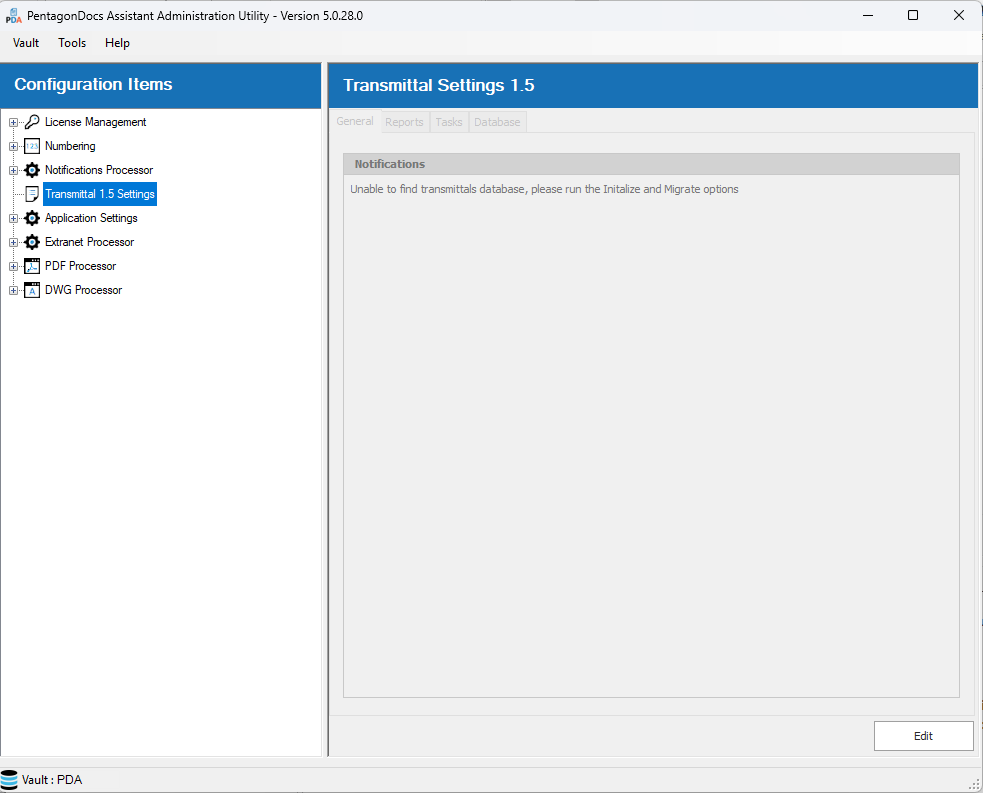
The General tab will show messages related to the current state of the Transmittals 1.5 application. For example, when the server and client Transmittals 1.5 vault applications are first installed, Transmittals 1.5 will require initializing in order to create the vault specific transmittals database. Opening the Transmittals 1.5 Settings in the PDA Admin Utility, the General tab will show the following message “Unable to find transmittals database, please run the Initialize and Migrate options”:
PLEASE NOTE: If you are unsure what to do at this point (especially if your vault is already in use) please contact Pentagon Support for assistance.
Other messages may be shown relating to the database schema needing to be updated. Also, if you try to open the Transmittals 1.5 settings from a client (not directly on the PDA server) then you will be shown a ‘Transmittals admin must be run on the M-Files server’ message.
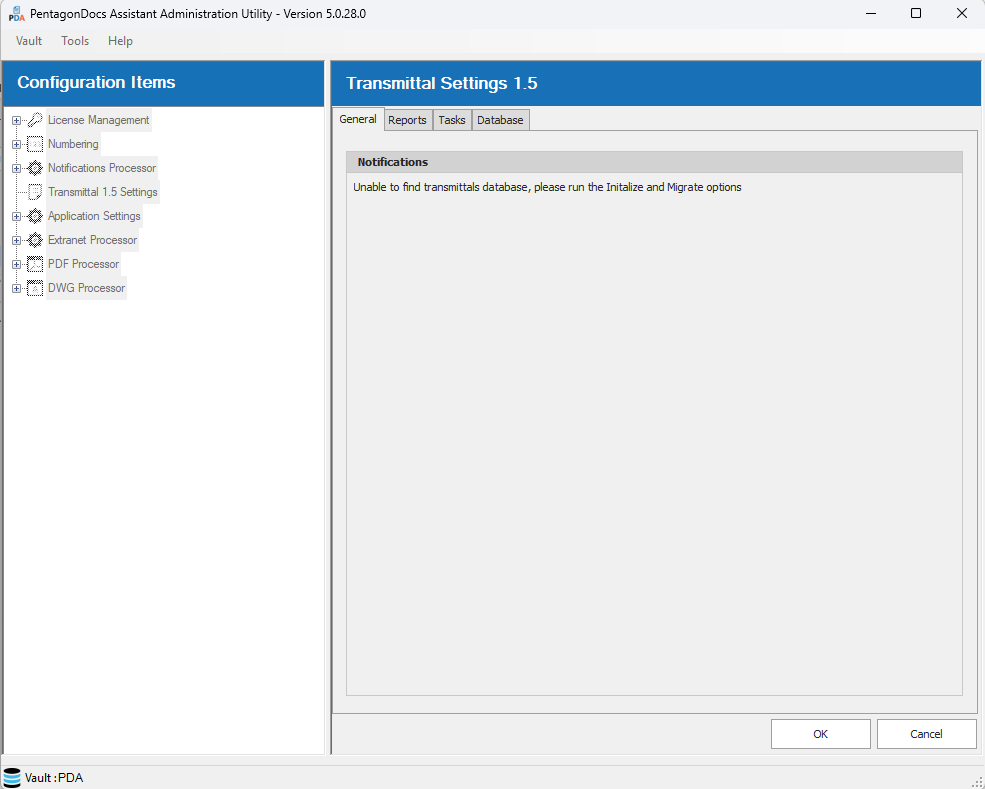
Clicking the ‘Edit’ button will enable you to make changes to the settings, the various tabs are now no longer greyed out:
Database
Click on the ‘Database’ tab, and you will be shown the screen below:
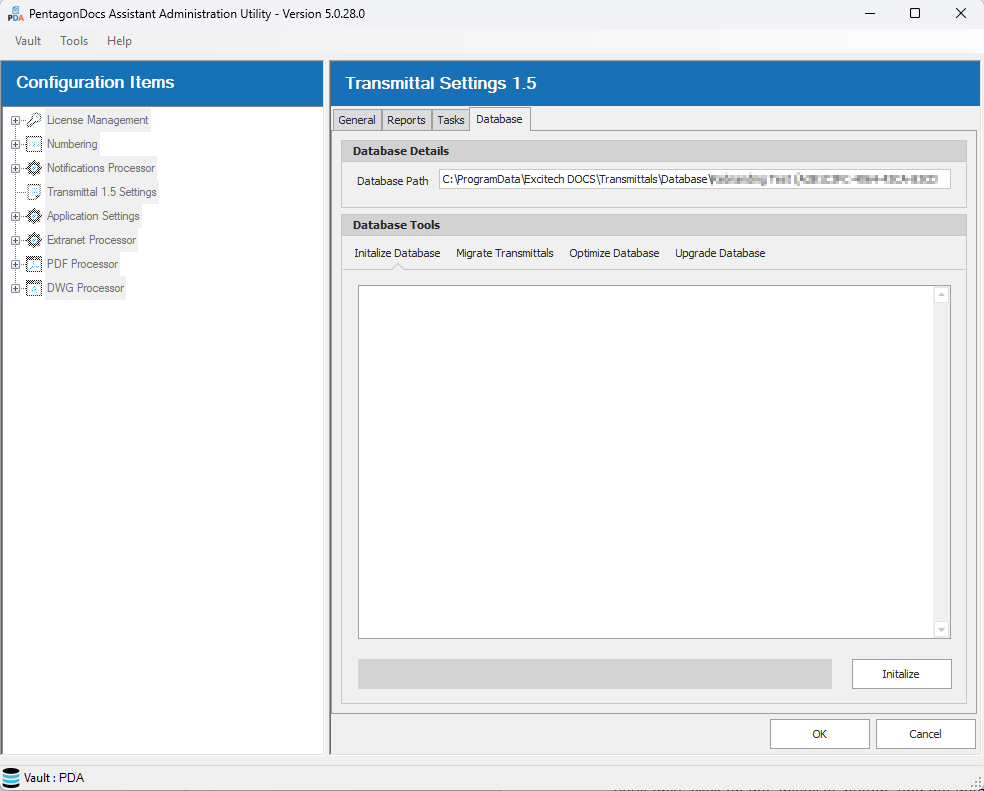
At the top of the screen in the ‘Database Details’ section, you will be shown the location that the transmittals database will be created.
In the ‘Database Tools’ section you will see a number of tabs available:
Initialize Database:
This option should only ever be used when first setting up a vault with Transmittals 1.5. Running this on a vault which has been already setup, will remove all transmittal data resulting in the loss of all previously issued transmittals using Transmittals 1.5. This will create a new database file overwriting any existing database file (a warning is shown). When setting up a new vault only, click on the ‘Initialize’ button, and the database is created:
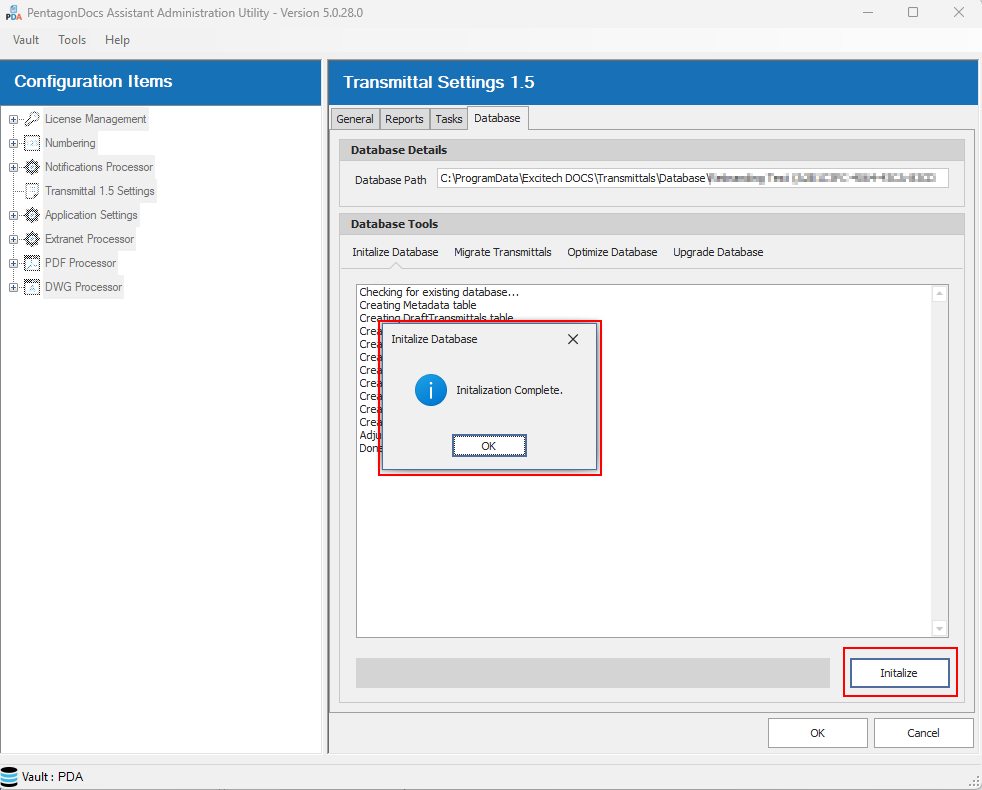
Click ‘OK’ to close the ‘Initialization Complete’ dialog. At this point, ensure that the database is using the latest schema by selecting the ‘Upgrade Database’ tab, and running the ‘Upgrade’ process. When that is completed, return to the ‘Migrate Transmittals’ tab.
Migrate Transmittals:
Again, this is only ever used when first setting up a vault with Transmittals 1.5. This option will scan the vault for transmittals previously created in the vault using the legacy Transmittals application (prior to Transmittals 1.5) and add them to the Transmittals 1.5 database so they can be re-issued, etc. Click the ‘Start Migration’ button to run the migration of legacy transmittals to the new Transmittals 1.5 application:
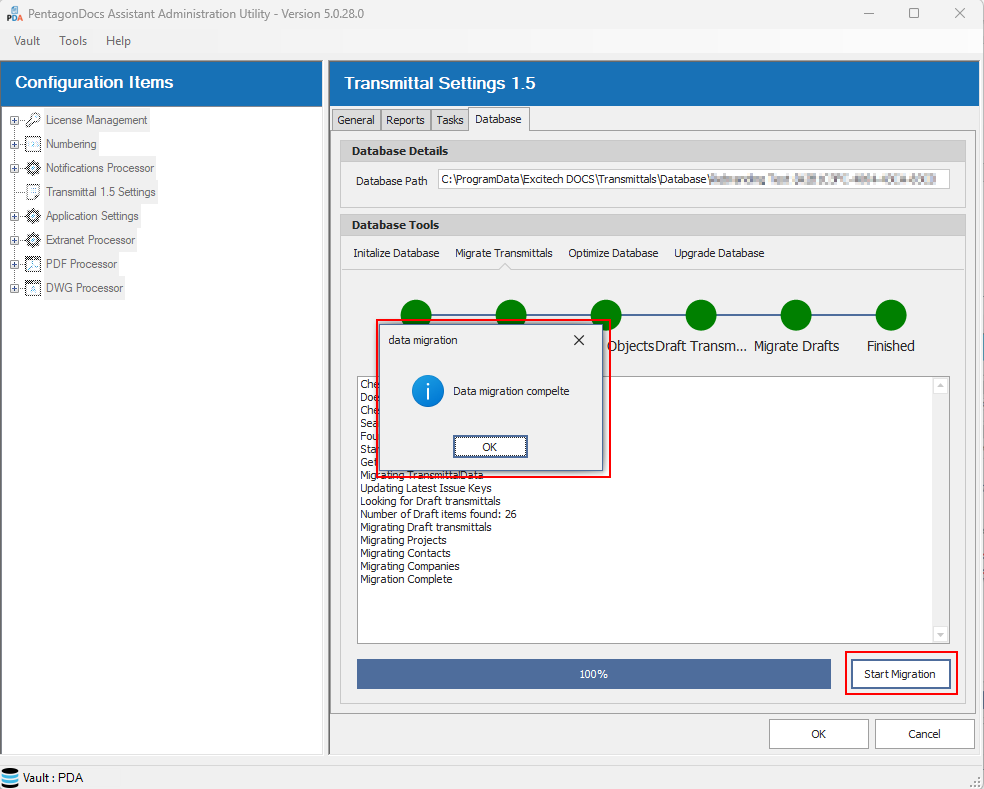
Click ‘OK’ to close the ‘Data migration complete’ dialog.

At this point, the legacy transmittals should no longer be used, as they will no longer be able to be migrated again without starting the whole migration process again, which would lose any new transmittals created using Transmittals 1.5.
The legacy transmittals vault application should be removed from the vault. If you do not know how to do this, please contact Pentagon Support.
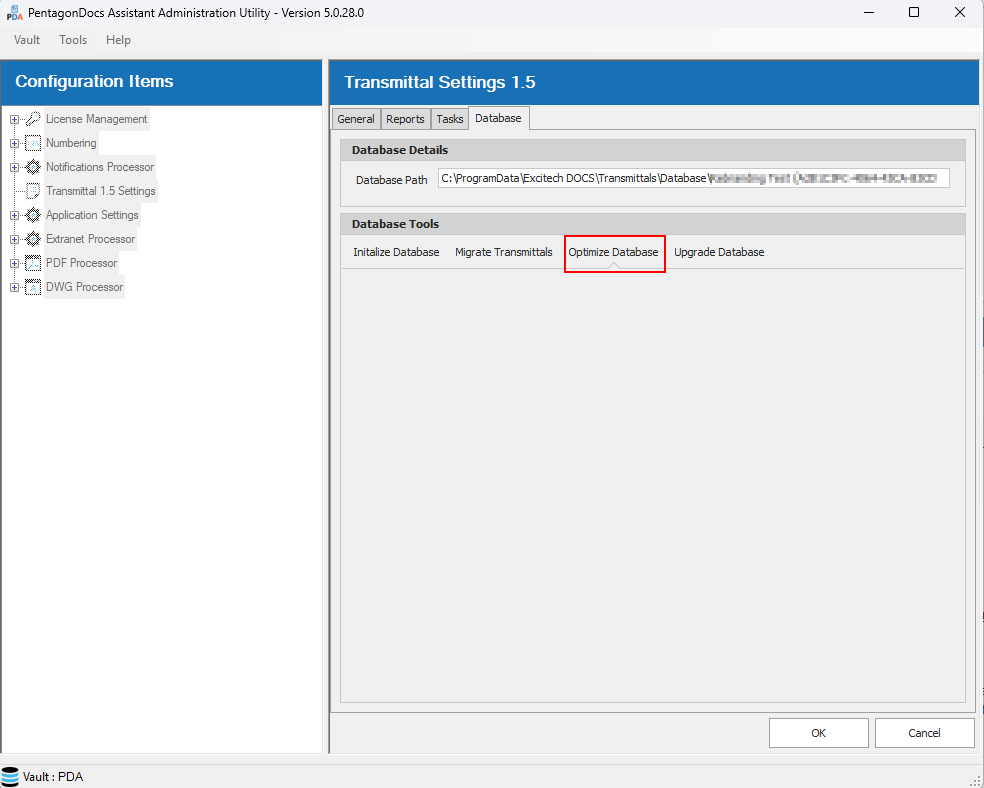
Optimize Database:
This runs an optimization process on the database. Only run if instructed to by Pentagon Support.
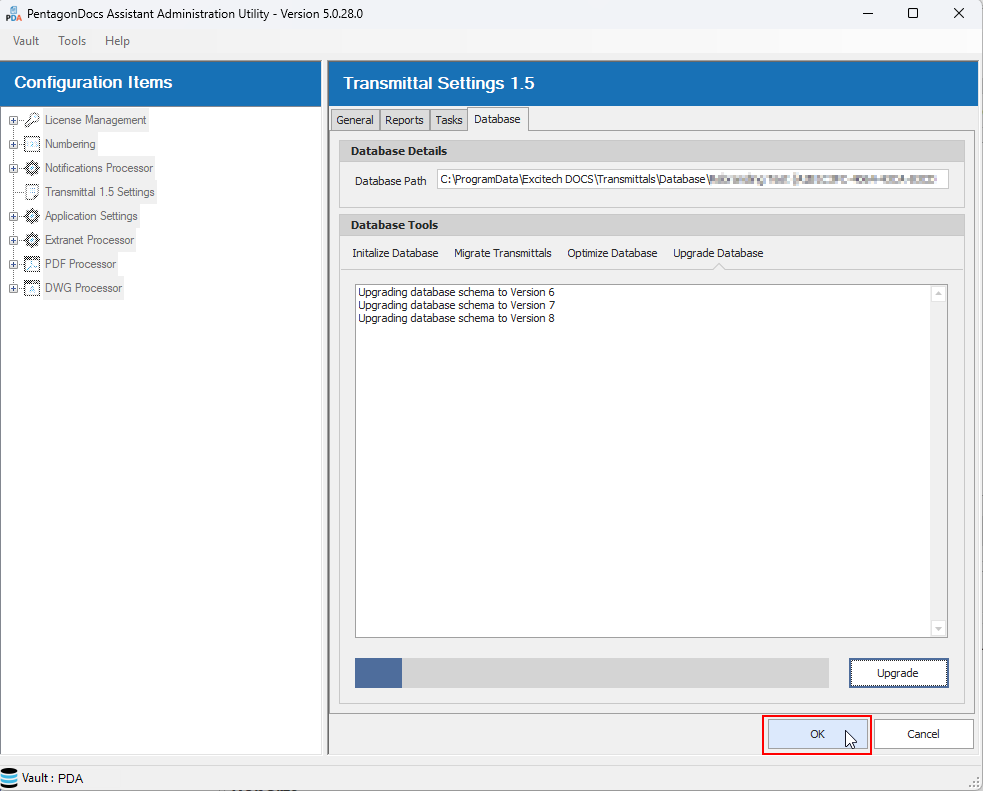
Upgrade Database:
The Transmittals vault application requires the database to be updated to a new schema (a message is shown on the General tab when this is required). This may also be required when creating a new transmittals database following the ‘Initialize Database’ step. Click the ‘Upgrade’ button to carry out the upgrade:
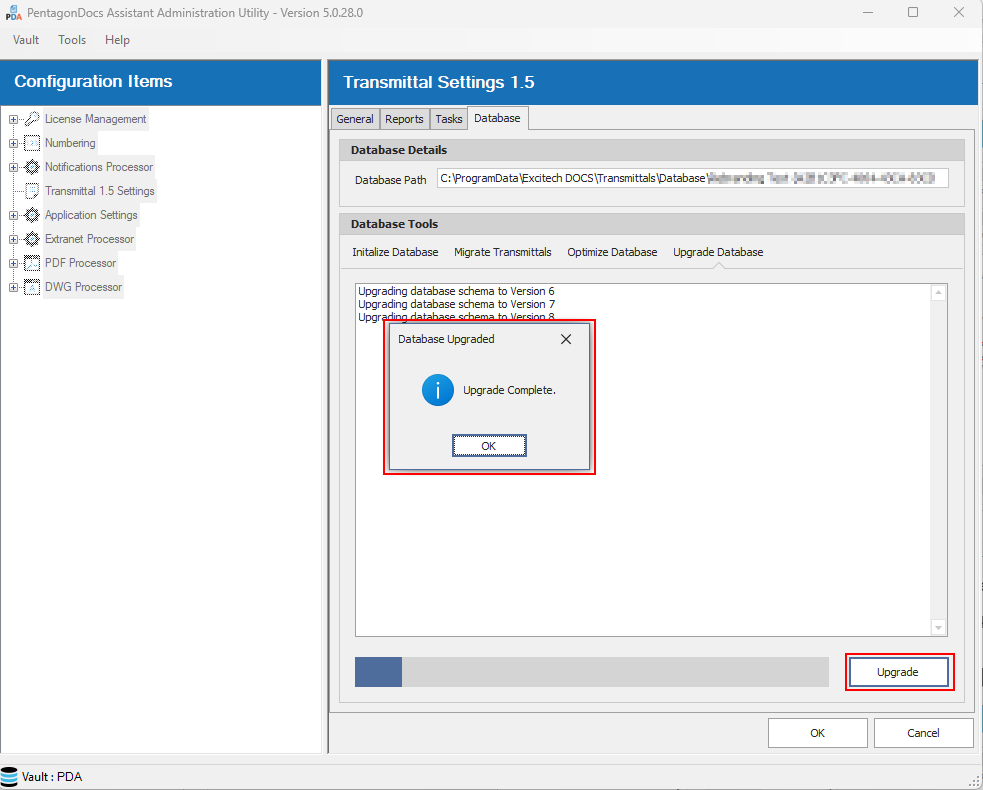
Click the ‘OK’ button to close the ‘Upgrade Complete’ dialog.
Once all database tasks have been completed, click the ‘OK’ button to save any changes and close the edit session:
If this is the first time setting up the Transmittals 1.5 settings, you will be shown a message as the settings are validated, and if you have not yet initialized the default reports the following message will be shown:
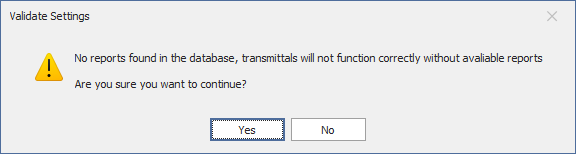
Refer to the ‘Reports’ section for details on how to setup the default reports.
Reports
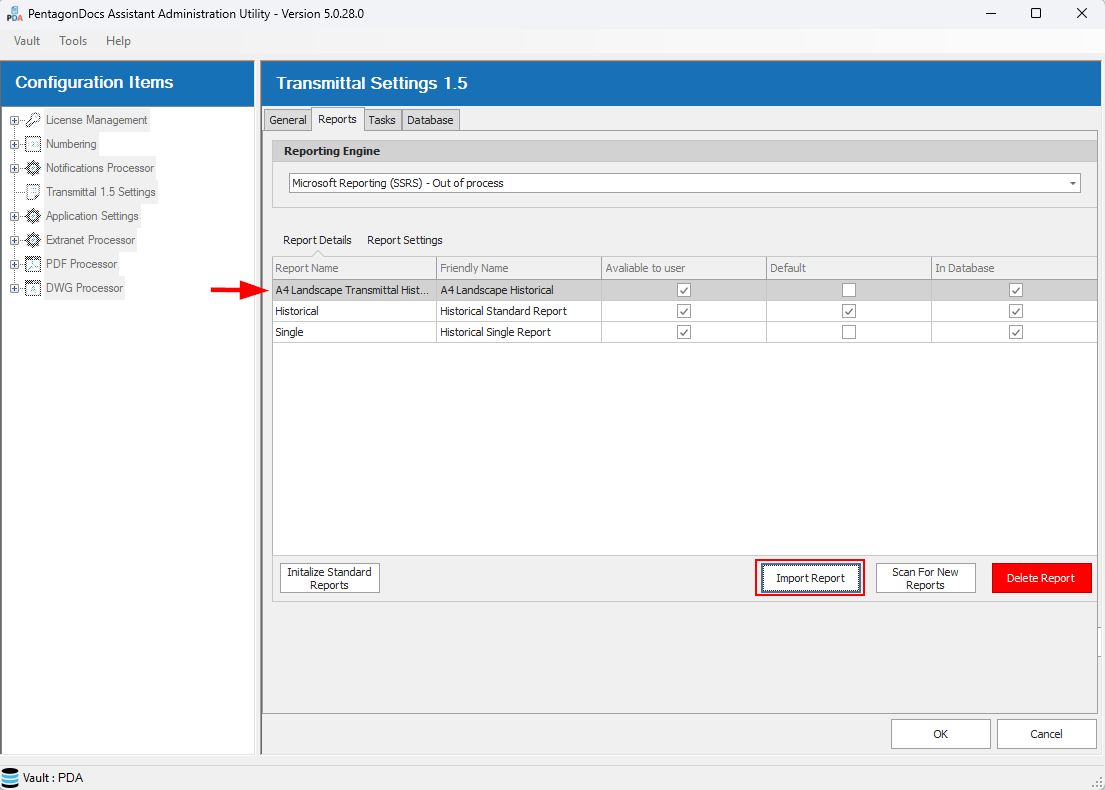
Clicking on the ‘Reports’ tab will show details on the reports available in the vault. When first installing Transmittals 1.5 there will be no Reports shown in the ‘Report Details’ section:
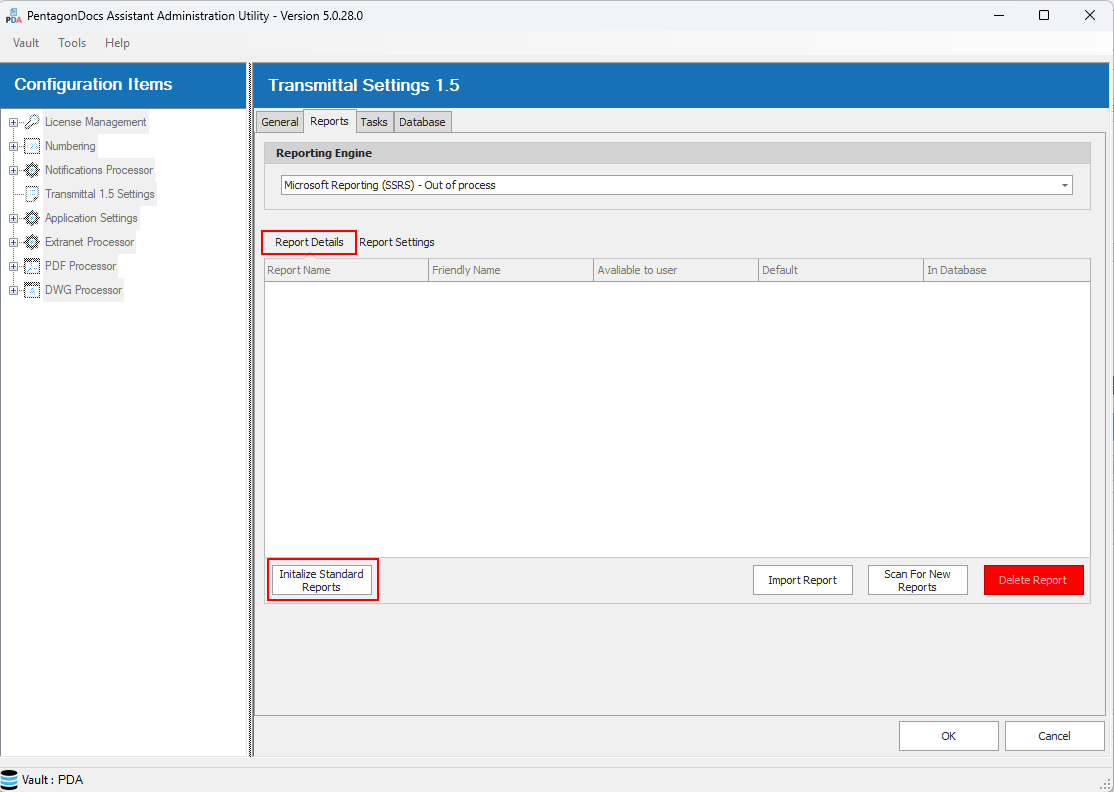
Click on the ‘Initialize Standard Reports’ button to install the standard reports. Should the reports not be shown immediately, click on the ‘General’ tab, and then reselect the ‘Reports’ tab. The default reports will be shown, with the Historical report set as default (the dialog may need to be resized to show all details including the ‘Delete Report’ button):
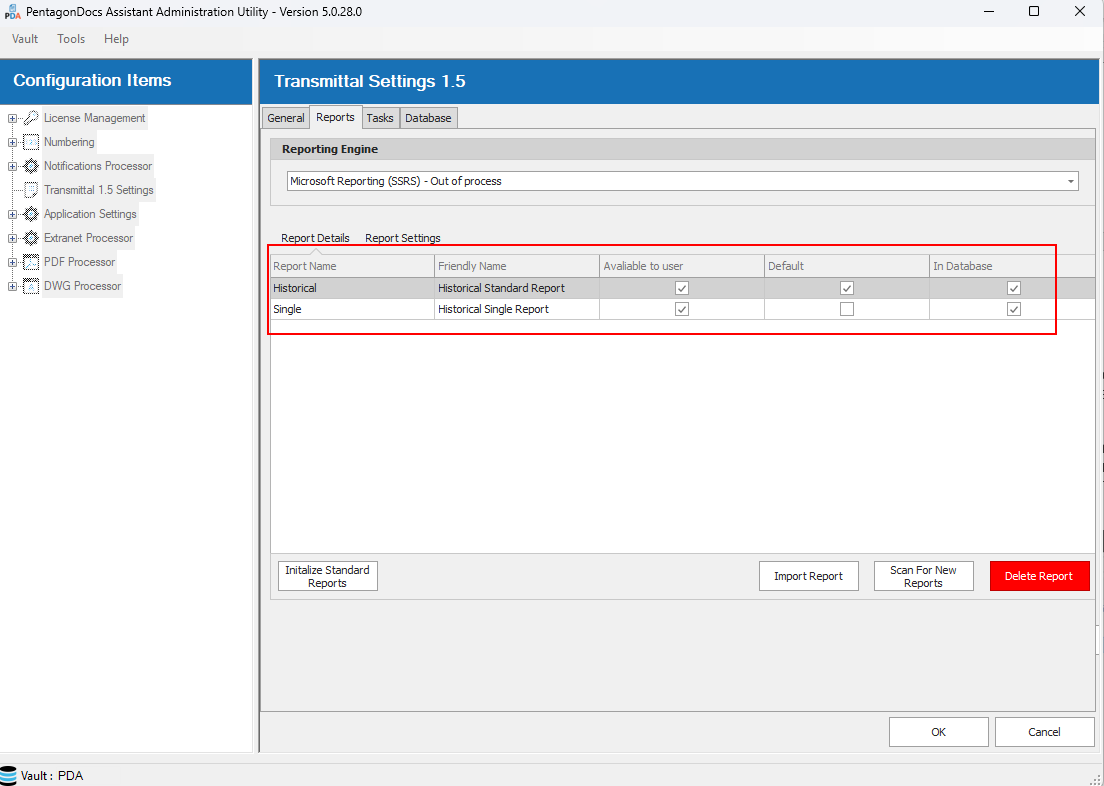
Should you require the ‘Single’ transmittal to be default, simply check the ‘Default’ checkbox in the Single transmittal row. Should you wish to hide a transmittal, the ‘Available to user’ checkbox can be unchecked.
Transmittals 1.5 also supports multiple custom reports that can be imported using the ‘Import Report’ button. Custom reports will first need to be created using the Microsoft RDLC report writer, then placed in an area accessible on the server so that they can be imported. Click on the ‘Import Report’ button and browse to select the custom report:
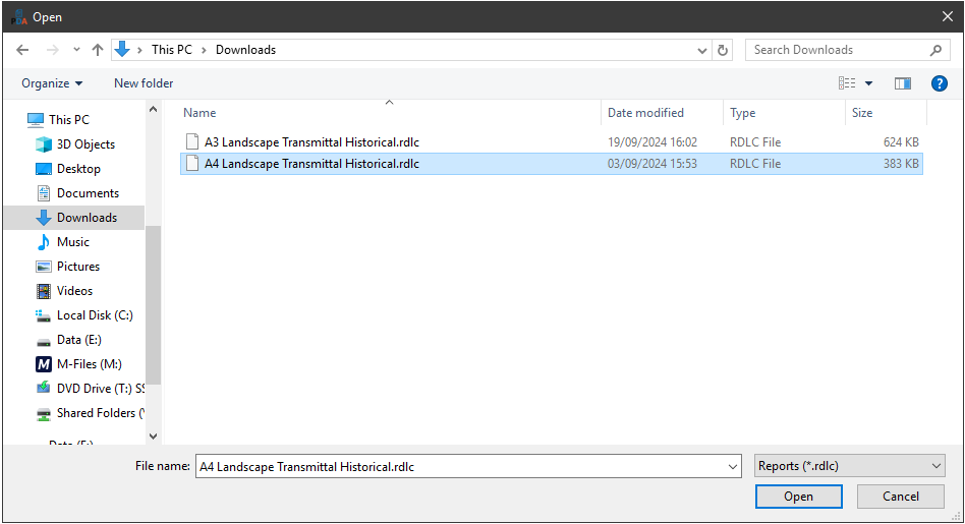
Click ‘Open’ to select the report. You will now be prompted to give the custom report a user friendly name (used in the transmittals client UI) and you can also set it as default and available to users:
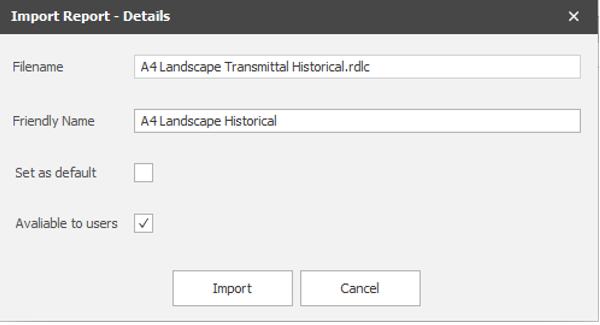
Click ‘Import’ to add the report to the vault. Any custom reports imported will now be listed and once the changes are saved, will be available to all users in the Transmittals 1.5 user interface:
The ‘Scan for New Reports’ button will automatically import any reports that have been manually added to the vault's reports folder.
This folder is found in the following location: C:\ProgramData\Excitech DOCS\Transmittals\Reports
To remove a report, select the required report and click the ‘Delete Report’ button and it will be removed from the reports folder and the transmittals database.
Additional settings are available in the ‘Report Settings’ sub-tab:
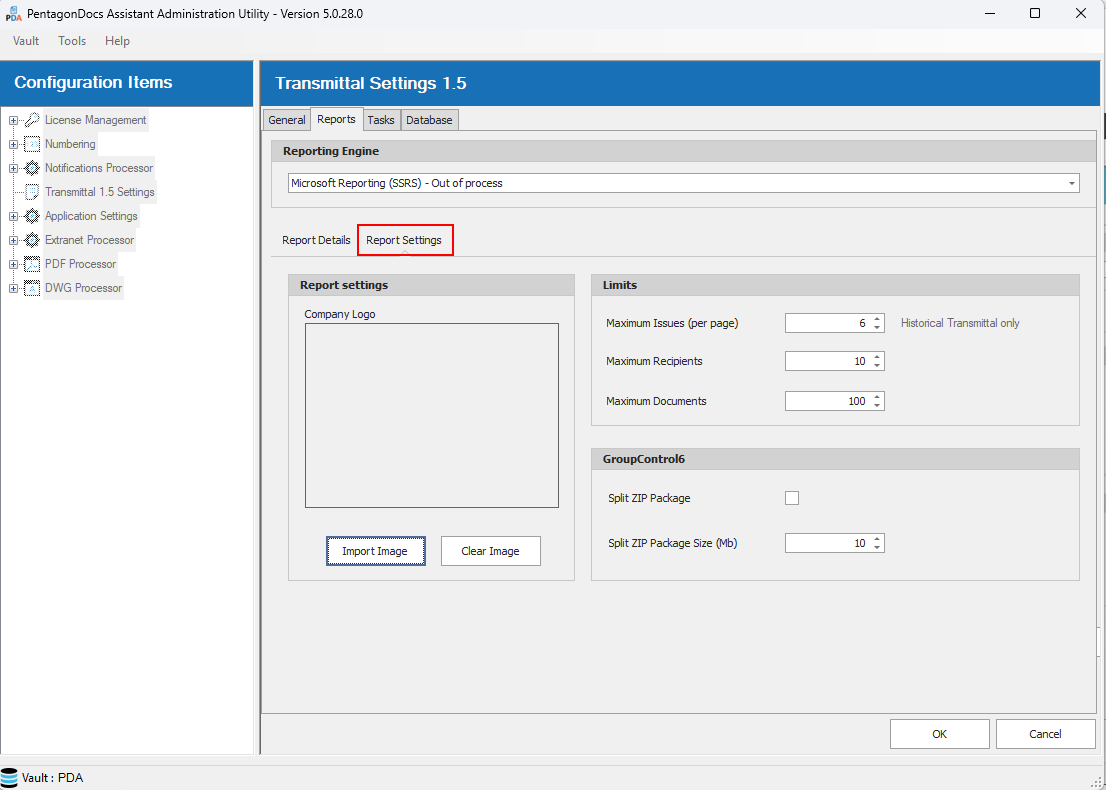
The ‘Reporting Engine’ is listed in the top section, this is currently limited to ‘Microsoft Reporting (SSRS)’.
In the ‘Report settings’ area, your company logo can be uploaded and will appear in the logo section of the reports. Click on the ‘Import Image’ and browse to select your company logo (jpg format). You can also clear an existing logo image by clicking the ‘Clear Image’ button.
The ‘Limits’ area has the default limits for the reports. Here you can limit the number of issues to show on a Historical transmittal (default reports show 6 previous issues), the maximum number of recipients and the maximum number of documents.
The last section is where control can be added over the zip file that is created for a transmittal. If you want to impose a maximum size of zip file (so it can be emailed, for example) then enable the ‘Split ZIP Package’ option and set a max size limit in the ‘Split ZIP Package Size (Mb)’ section. Please note that if your email limit is 10MB, then set the limit to a value lower than 10MB. As for example, Outlook adds a wrapper around attachments that increases the size slightly.
To save your changes, please click the OK button:

Tasks
Click on the ‘Tasks’ tab, and the Transmittal Task history will be displayed for information purposes.
Note: Currently this tab will be blank. Efforts will be put in place to get this tab fully operational in due course.