Trial with Meridian
You have successfully installed PentagonMail Assistant. So firstly a big Thank you! from us for showing your interest.
We hope that you like the software and find the next steps easy, should you run into any problems or just want to ask a question, please either email support@pentagonsolutions.com or phone us on +44 (0)2890 455355 (Option 3).
NOTE:
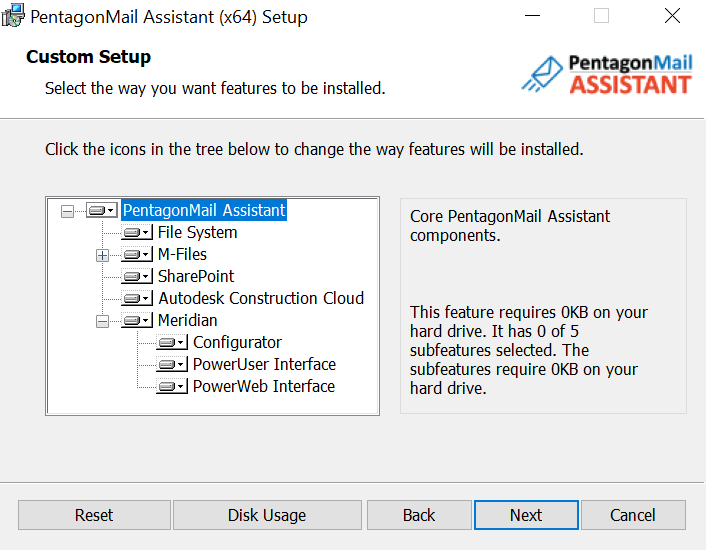
When you run the PentagonMail Assistant installer, it checks whether Meridian is installed and will then list Meridian components in the Custom Setup section of the installer.
However, as most users will never need access to the Configurator tool, PowerWeb, or PowerUser interfaces, they are not installed by default. So make sure you have Meridian installed, and then, if necessary, re-run the PentagonMail Assistant installer and ensure that it also installs the Configurator, PowerUser and PowerWeb interfaces.
Once this is done, you are ready to proceed setting up your trial.
The next steps are to:
- Acquire a trial license
- Create a filing Group
- Connect to the Group
- Add filing locations
- File to the locations and search for filed messages
Acquire a trial license
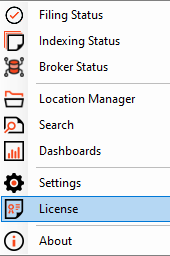
Click the PentagonMail Assistant tray icon  and then select "License". Ensure you are connected to the internet to activate your license.
Go through the steps in the PMA - License Wizard to generate the trial license.
If the license won't activate see License won't activate advice.
Create a filing 'Group'
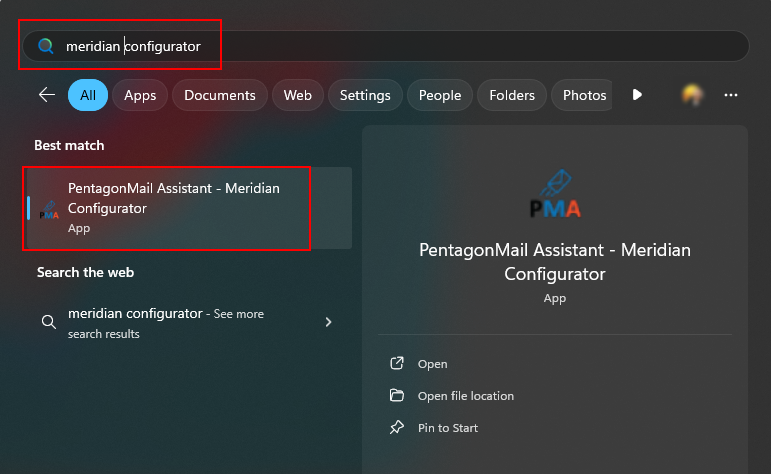
Open the “PentagonMail Assistant – Meridian Configurator” from the Windows Search.
Select “Open Meridian Vault” and select the desired vault.
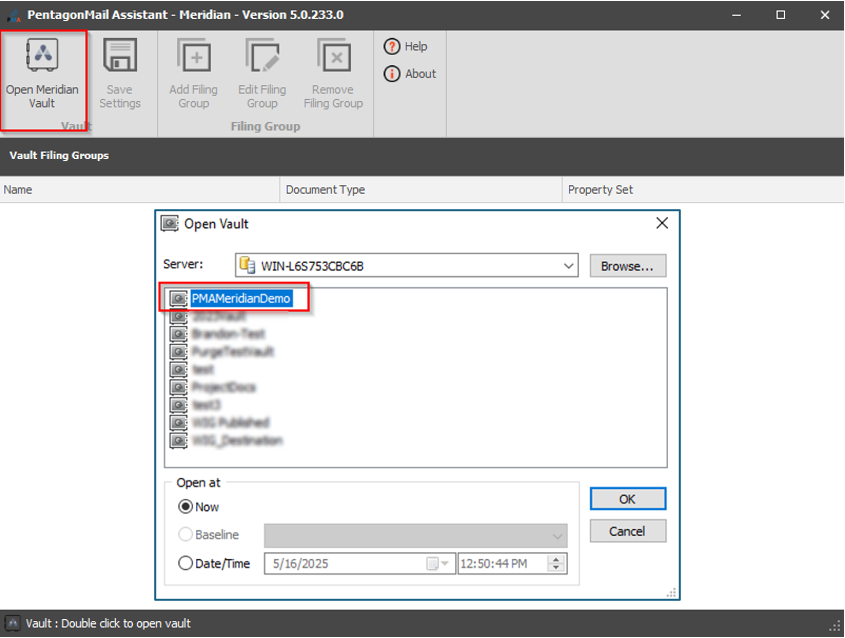
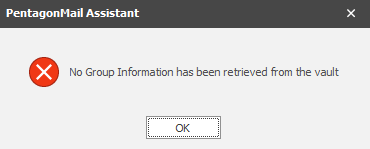
The below error message pops-up to let you know that the vault has not been configured for PMA before. Please press "OK".
In the example below there is already a filing group for "Projects". You can have as many groups as you want and can configure as many Meridian vaults as you want too.
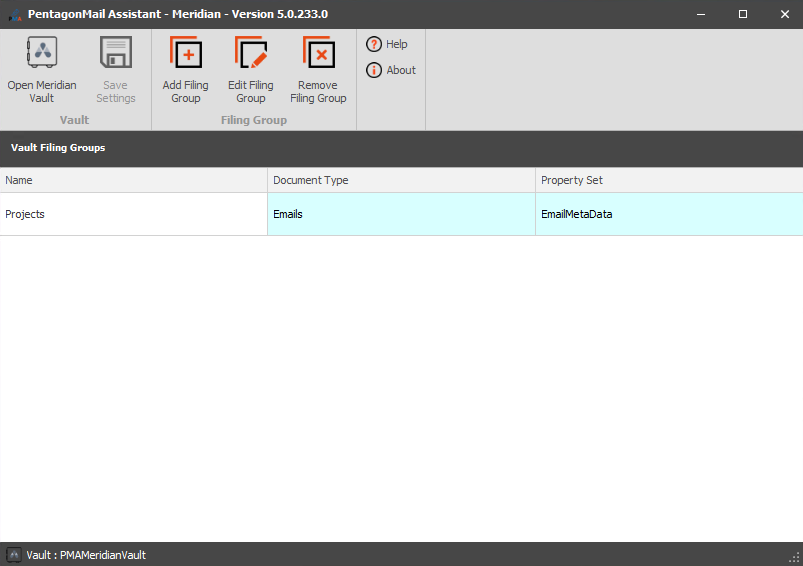
In the next steps, you will see how to add one filing group for "Customers".
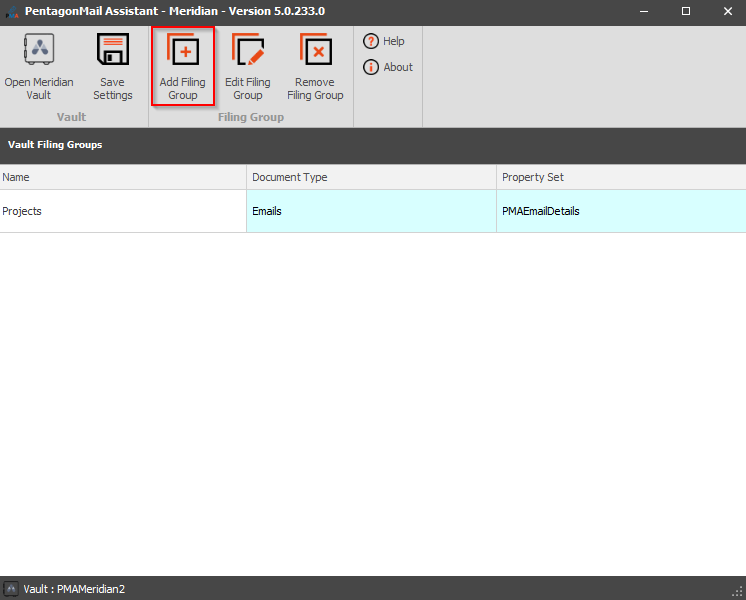
Click "Add Filing Group".
In the "General" tab, provide the appropriate information, including "Name", "Email Document Type" (Emails) and "Email Property Set".
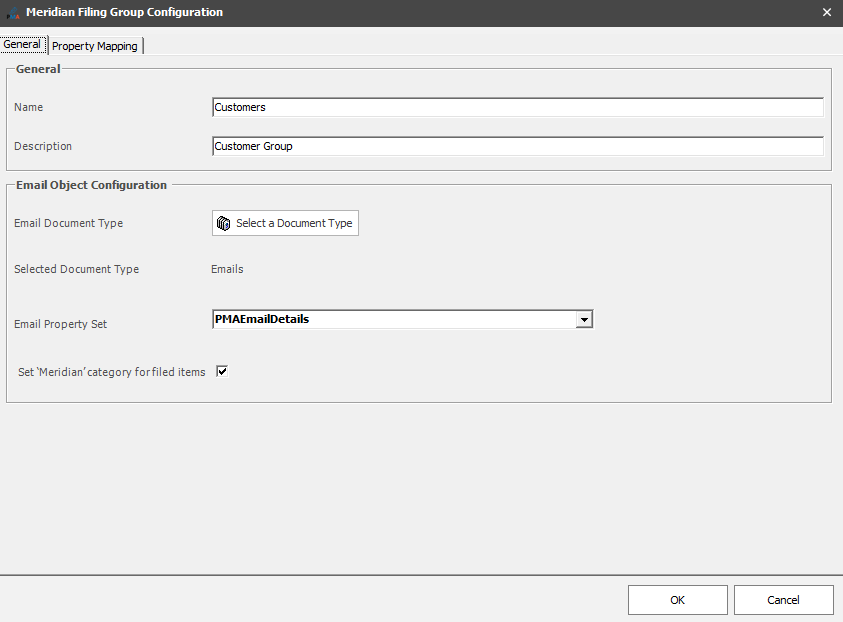
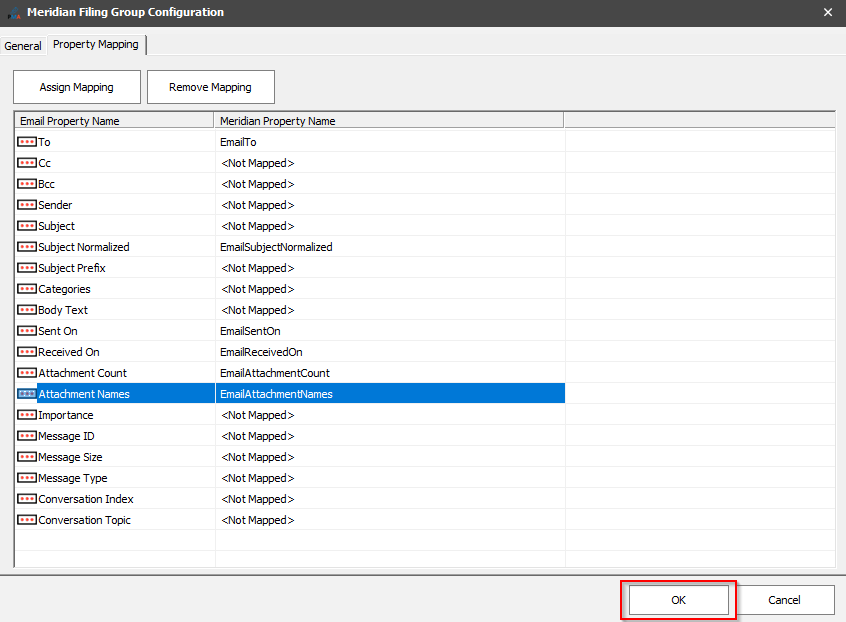
In the "Property Mapping" tab, assign mappings to the desired Meridian properties. Once done, click "OK".
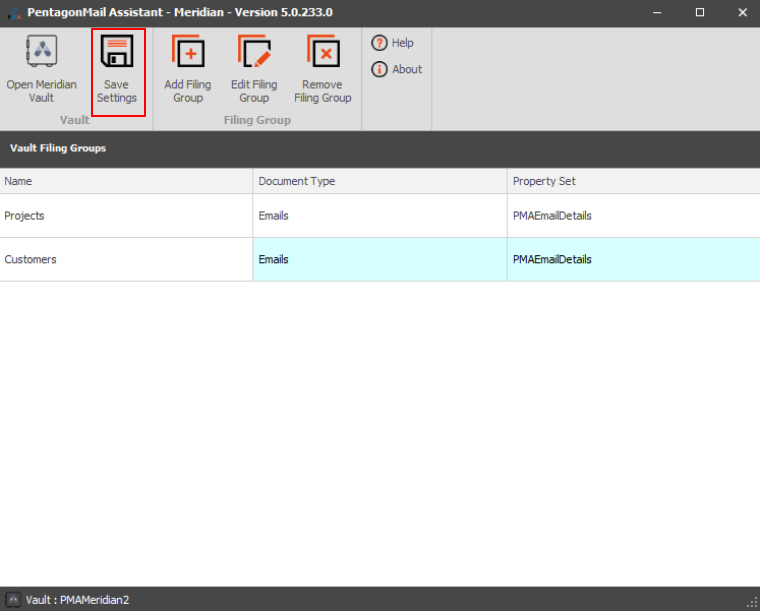
The "Customers" group is now added. Click "Save Settings" to commit the changes.
Add filing locations
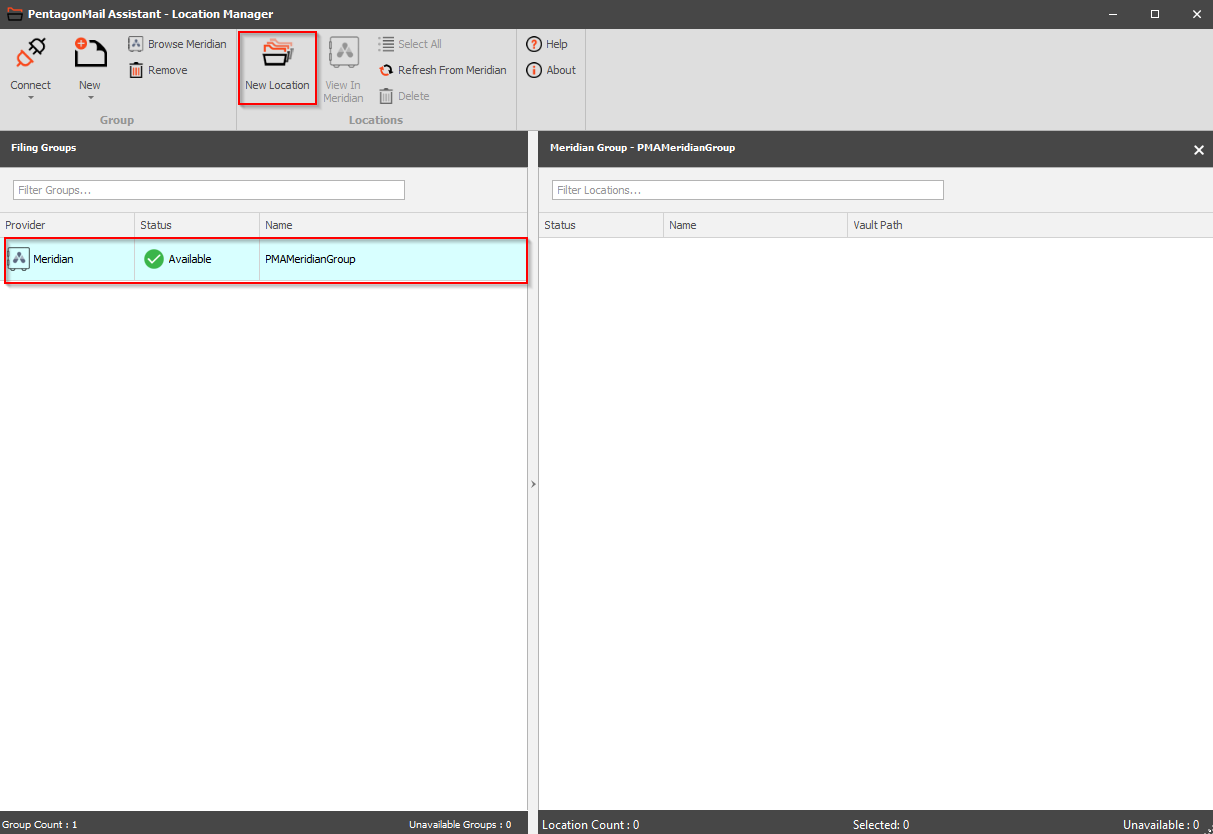
Select the desired Meridian Group and select “New Location”. .
Select a folder within the vault or create a new folder and press "OK".
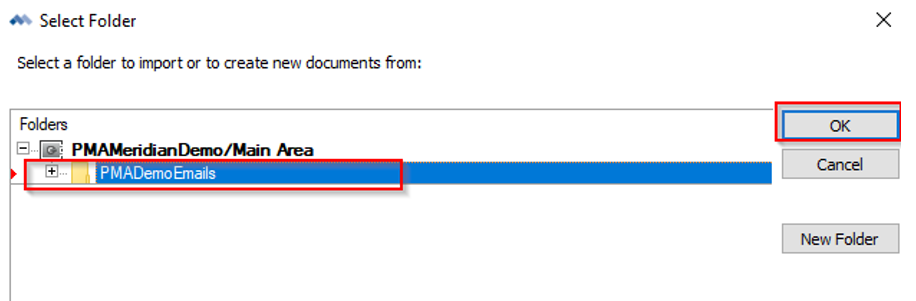
This will add the location to the Location Manager.
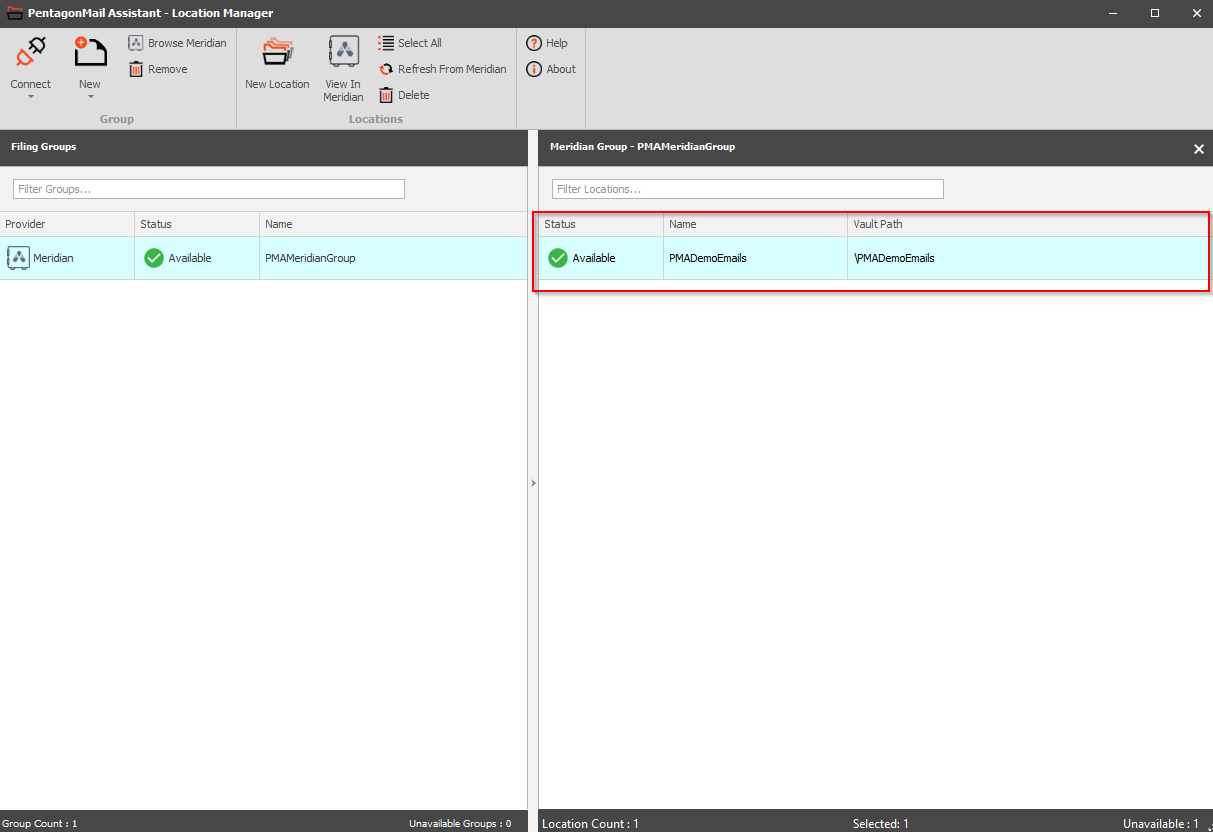
Repeat the above steps as many times as you need, to add all the desired Meridian locations.
Once this is done, you can start filing messages from Outlook to Meridian, using PentagonMail Assistant.
Congratulations, you are ready to start using PentagonMail Assistant with Meridian. We have just covered the basics, so to learn some key capabilities, watch the video tutorials or if you want to get as much as possible from the tool, look through this documentation and in particular the Search section.