First Time Location Wizard
NOTE: This feature has only become available from version 5.0.237.0 onwards.
PentagonMail Assistant now comes with a facility to allow for easy configuration of filing locations for first time users. This can be done with a configuration file pointing to group files, or you can use the wizard to connect to existing groups or to create your own first filing group.
This feature is especially useful for trials or to deploy the software to multiple users - streamlining the setup of the filing location(s).
To display the first time location wizard you will need the following checkbox checked on the final page of the installation wizard:
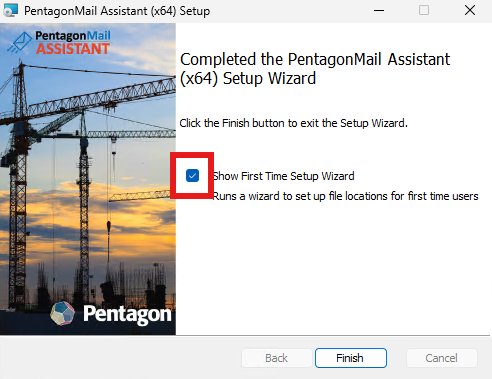
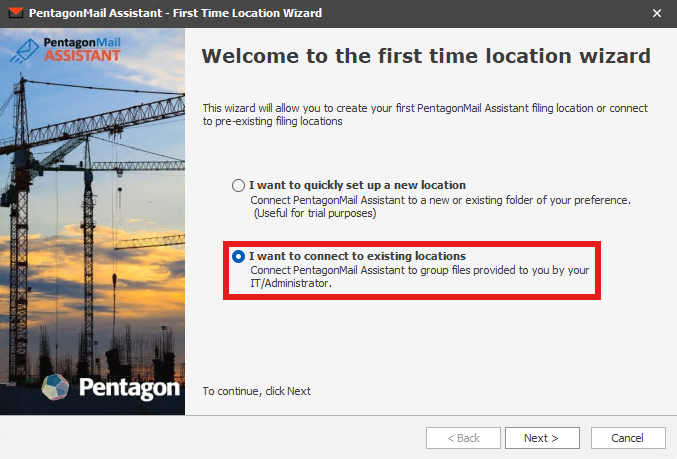
Once you click on the "Finish" button and, if this checkbox is checked, you will be displayed with the following wizard dialog:
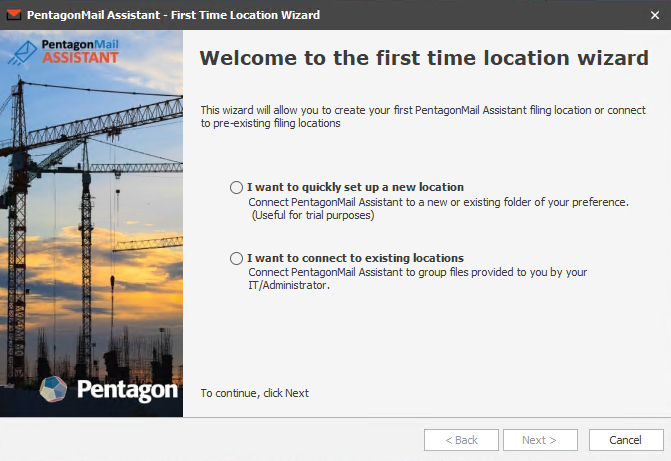
We will focus on the first option for now.
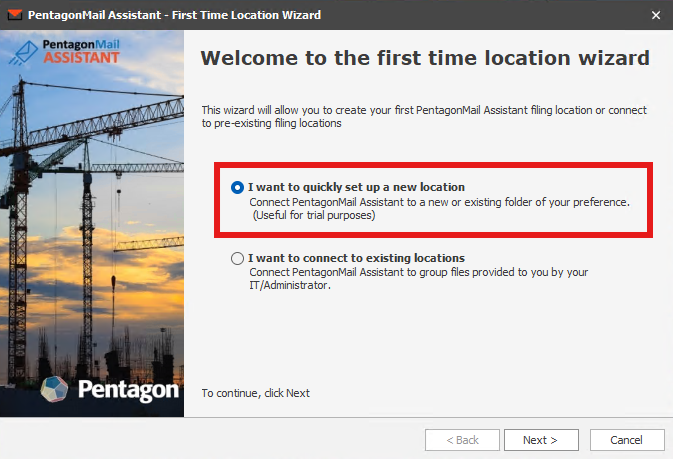
Quickly Set Up a New Location
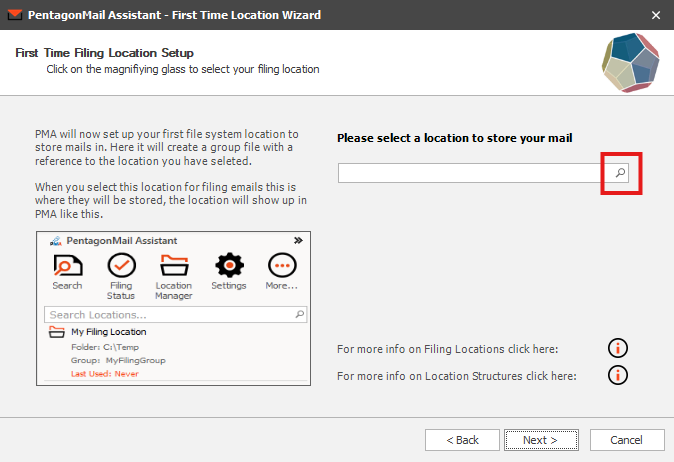
If you wish to quickly set up a new location select this option and click "Next":
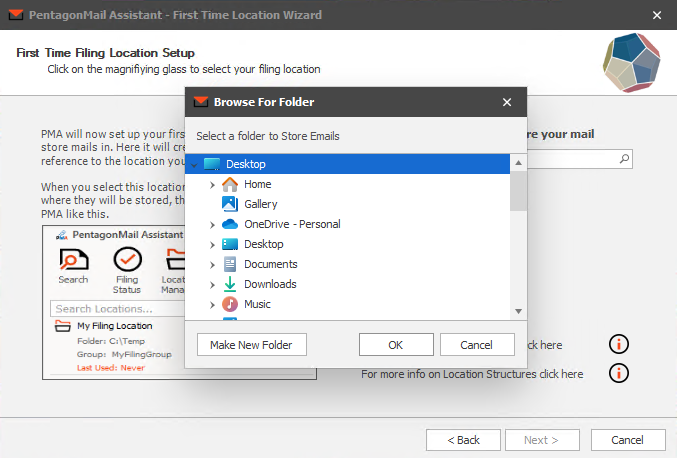
From the next page, you can select a folder on your machine which you wish for your emails to be filed to:
You will be greeted with a confirmation dialog specifying the folder path you selected. You can hit "Cancel" if you've changed your mind.
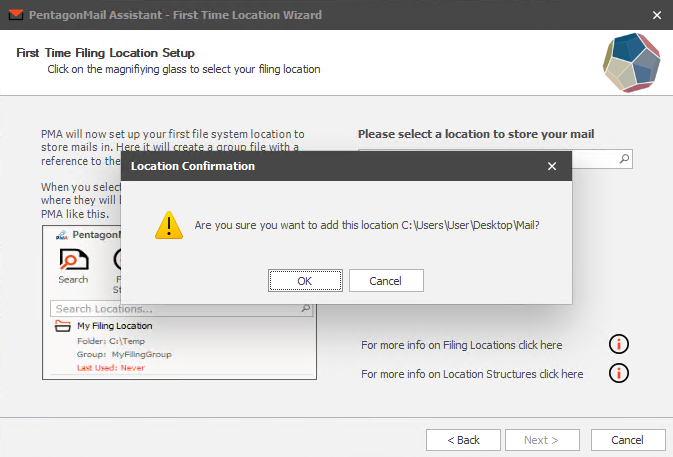
Click "Next" once you have confirmed a folder to store your emails, and you will be brought to the final page of the wizard:
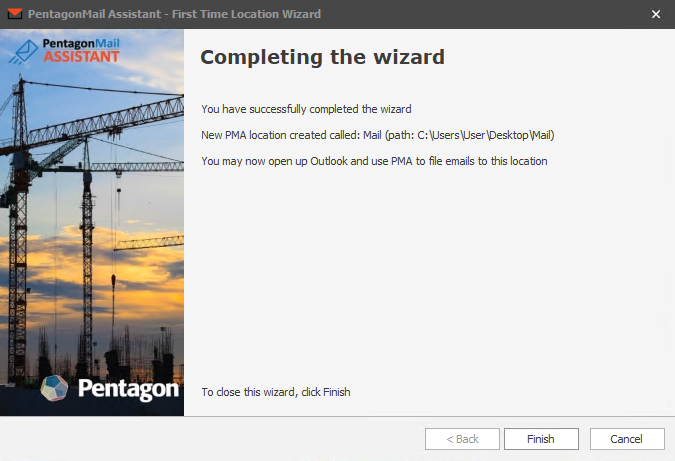
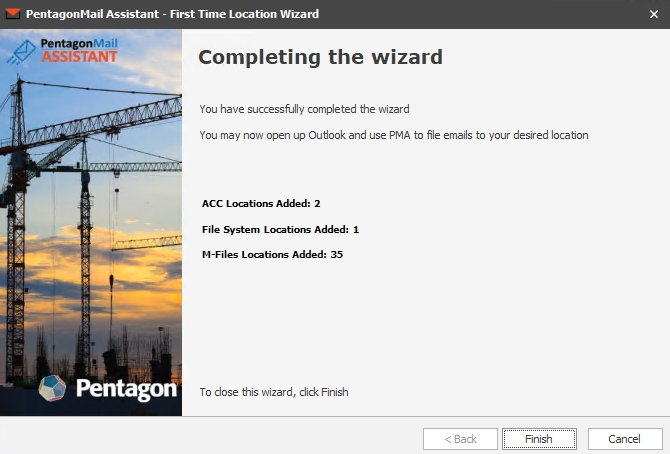
Congratulations you have set up your first filing location! You can now use PentagonMail Assistant to file to this location.
Connect to Existing Locations
We will now focus on the second option our First Time Location Wizard offers: connect to previously existing groups.
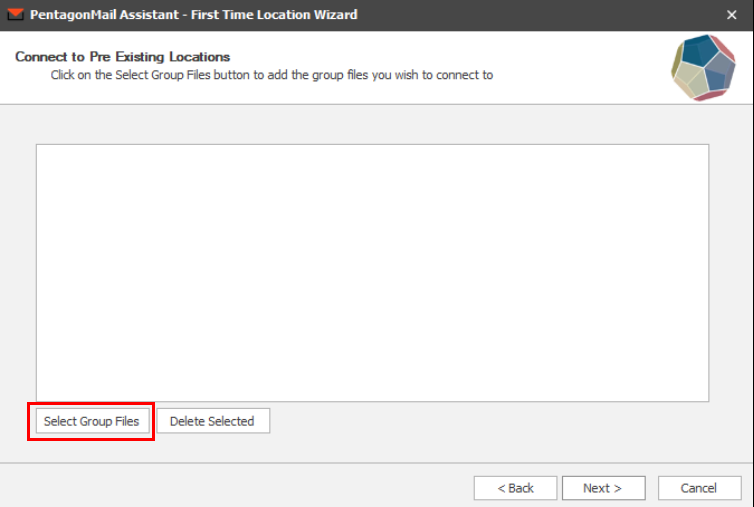
The next page is used to select pre-existing group files (Group files can hold the necessary information to connect to one or several locations at once).
Click on the “Select Group Files” button and select the files which you wish to use.
Note: the options for this drop-down will be determined by the filing providers you have chosen to install, if a file type is not available here you may need to run the installer again, select your desired filing provider (SharePoint, Autodesk Construction Cloud, etc) during installation change and then add the locations through the PMA Location Manager (see Managing Locations per Provider). Alternatively, you may choose to uninstall PMA and the re-install it to be able to fully leverage the First Time Location Wizard.
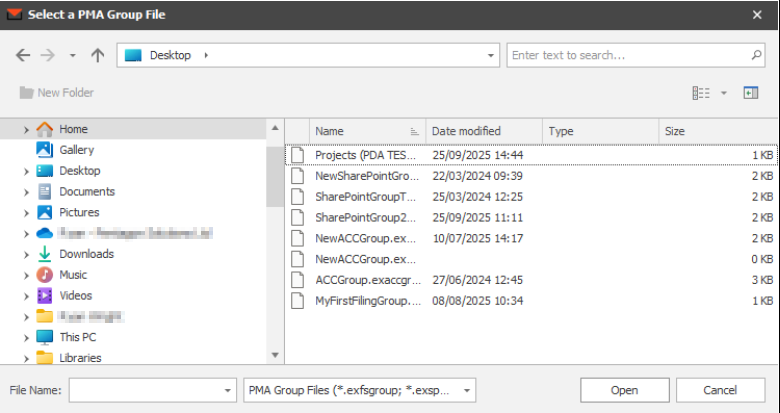
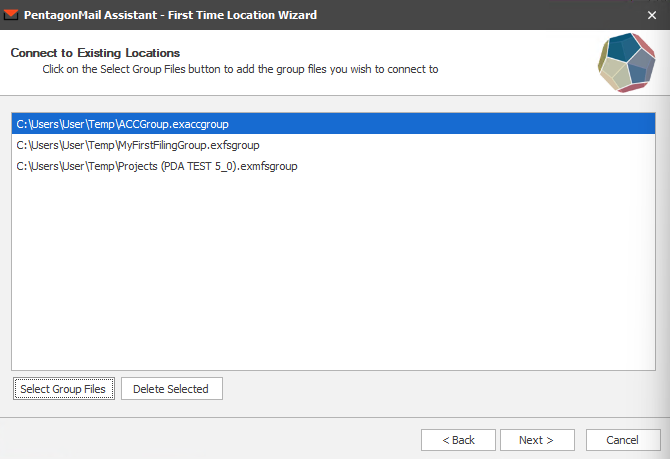
Once you are happy with your selection, click "Open". The files you have chosen will be listed.
If you have selected a file by mistake, click on it to highlight it, then click on the "Delete Selected" option (If you wish to select more that one file you can hold shift while selecting the files). You can also select additional group files by clicking "Select Group Files" once again.
Once the list matches what you're looking for, please click "Next".
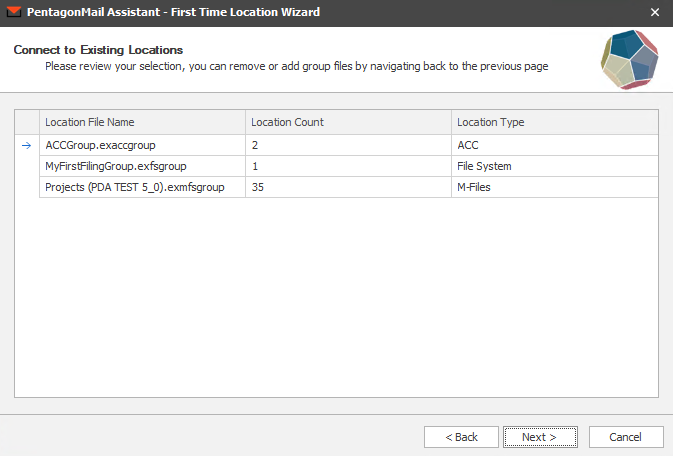
The next screen will show you a summary of the locations to be added from the group file(s). Click "Back" if you spot any irregularity in the listed details. Click "Next" if you're happy with the displayed information.
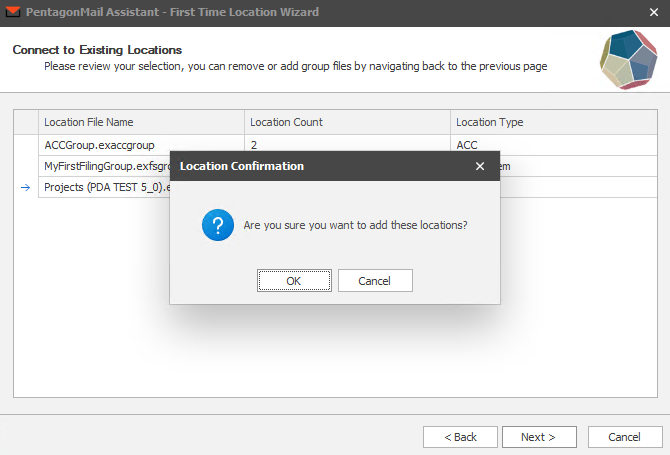
You will get a notification before the wizard commits to adding the files. If you are happy with the files to be used, click "OK" and you will be brought to the completion page.
For Administrators (this option requires advanced IT knowledge)
To allow for faster first time configuration of locations, additional command-line options can be added to load a .pmaconfig file (this is a file which contains paths to group files).
This process should only be used in the first time set up of PentagonMail Assistant. It is not suitable for PMA upgrades.
Step 1: Create Config File
The config file can be generated with a simple text editor such as Notepad++ and must be given an extension ".pmaconfig". It consists of a listing of PMA group files and their respective file paths, presented in the following form:
<?xml version="1.0" encoding="UTF-8"?>
<GroupFiles>
<GroupFile>
<Name>Group File #1</Name>
<Path>C:\Temp\FileSystemGroup.exfsgroup</Path>
</GroupFile>
<GroupFile>
<Name>Group File #2</Name>
<Path>C:\Temp\ACCGroup.exaccgroup</Path>
</GroupFile>
<GroupFile>
<Name>Group File #3</Name>
<Path>C:\Temp\M-FilesGroup.exmfsgroup</Path>
</GroupFile>
<GroupFile>
<Name>Group File #4</Name>
<Path>C:\Temp\SharePointGroup.exspgroup</Path>
</GroupFile>
<!-- Add more GroupFile elements as needed -->
</GroupFiles>
The order in which group files are listed is irrelevant, it will only dictate the order in which they will be listed in the Location Manager. Only the structure needs to be maintained.
Example Configuration file:
This file will allow the addition of 2 file system group files to the user's PMA Location Manager.
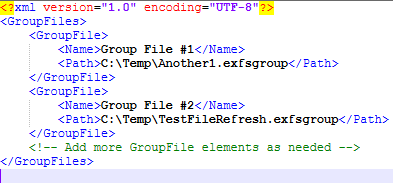
When adding a new group file make sure the <GroupFile> tag is contained within the parent <GroupFiles> tag.
Below is an example of the above config file edited to have another group:
When configuring the paths, keep in mind the file path for the group files will be relative to the user’s machine. So please make sure the paths can be accessed by all users to set up connections to the intended groups/locations.
Step 2: Run PowerShell Command
IMPORTANT: Place the PMA installation files in any directory your SYSTEM account can access, this is crucial for the success of this operation. This includes the PMA installer (.msi), the config file (.pmaconfig) and the respective group files (.exfsgroup, .exaccgroup, .exspgroup, etc).
Open up your Terminal as Administrator, then navigate to the directory your install files are located.
It is recommended to use the full path to the config file (not UNC paths).
As an example, the following command will install PMA in silent mode with the file system and ShaerPoint filing providers and setting up the group files contained in “C:\Temp\groupconfig.pmaconfig”:
msiexec /i "C:\Temp\PentagonMail Assistant (x64) Vx.x.xxx.msi" CONFIGPATH ="C:\Temp\groupconfig.pmaconfig" FILESYSTEM_PROVIDER="1" SHAREPOINT_PROVIDER=”1”/quiet
Depending on what’s contained in your config file, you will need to add additional command-line parameters to make sure the appropriate filing provider is installed.
Please see Silent Installation of the MSI Package for the full options.
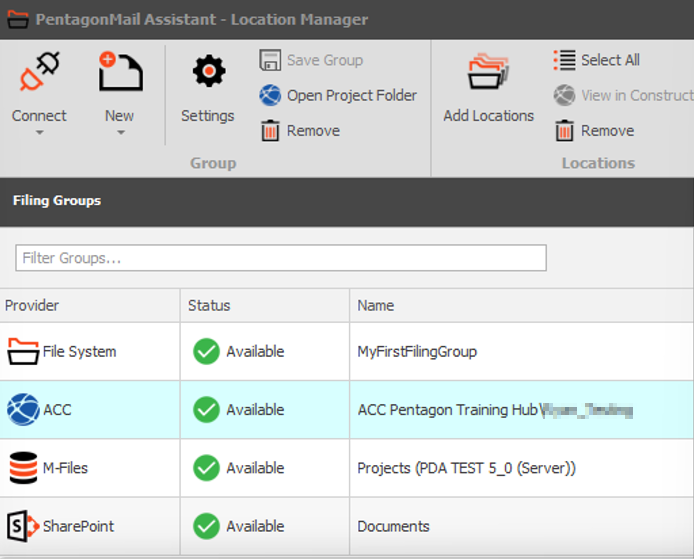
After running the command, please restart the machine and see the configured groups/locations from your PentagonMail Assistant Location Manager.