Filing to M-Files
As your company already uses the software we will assume that someone has installed the software for you and that a license has be allocated for you too.
So the next steps are to:
- Aquire your license
- Connect to a filing Group
- File to some locations and search for filed messages
Aquire your license
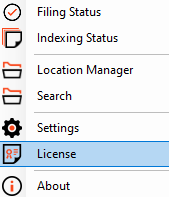
Click the PentagonMail Assistant tray icon  and then select License Settings.

If the license won't activate see Licence won't activate advice
Connect to a filing Group
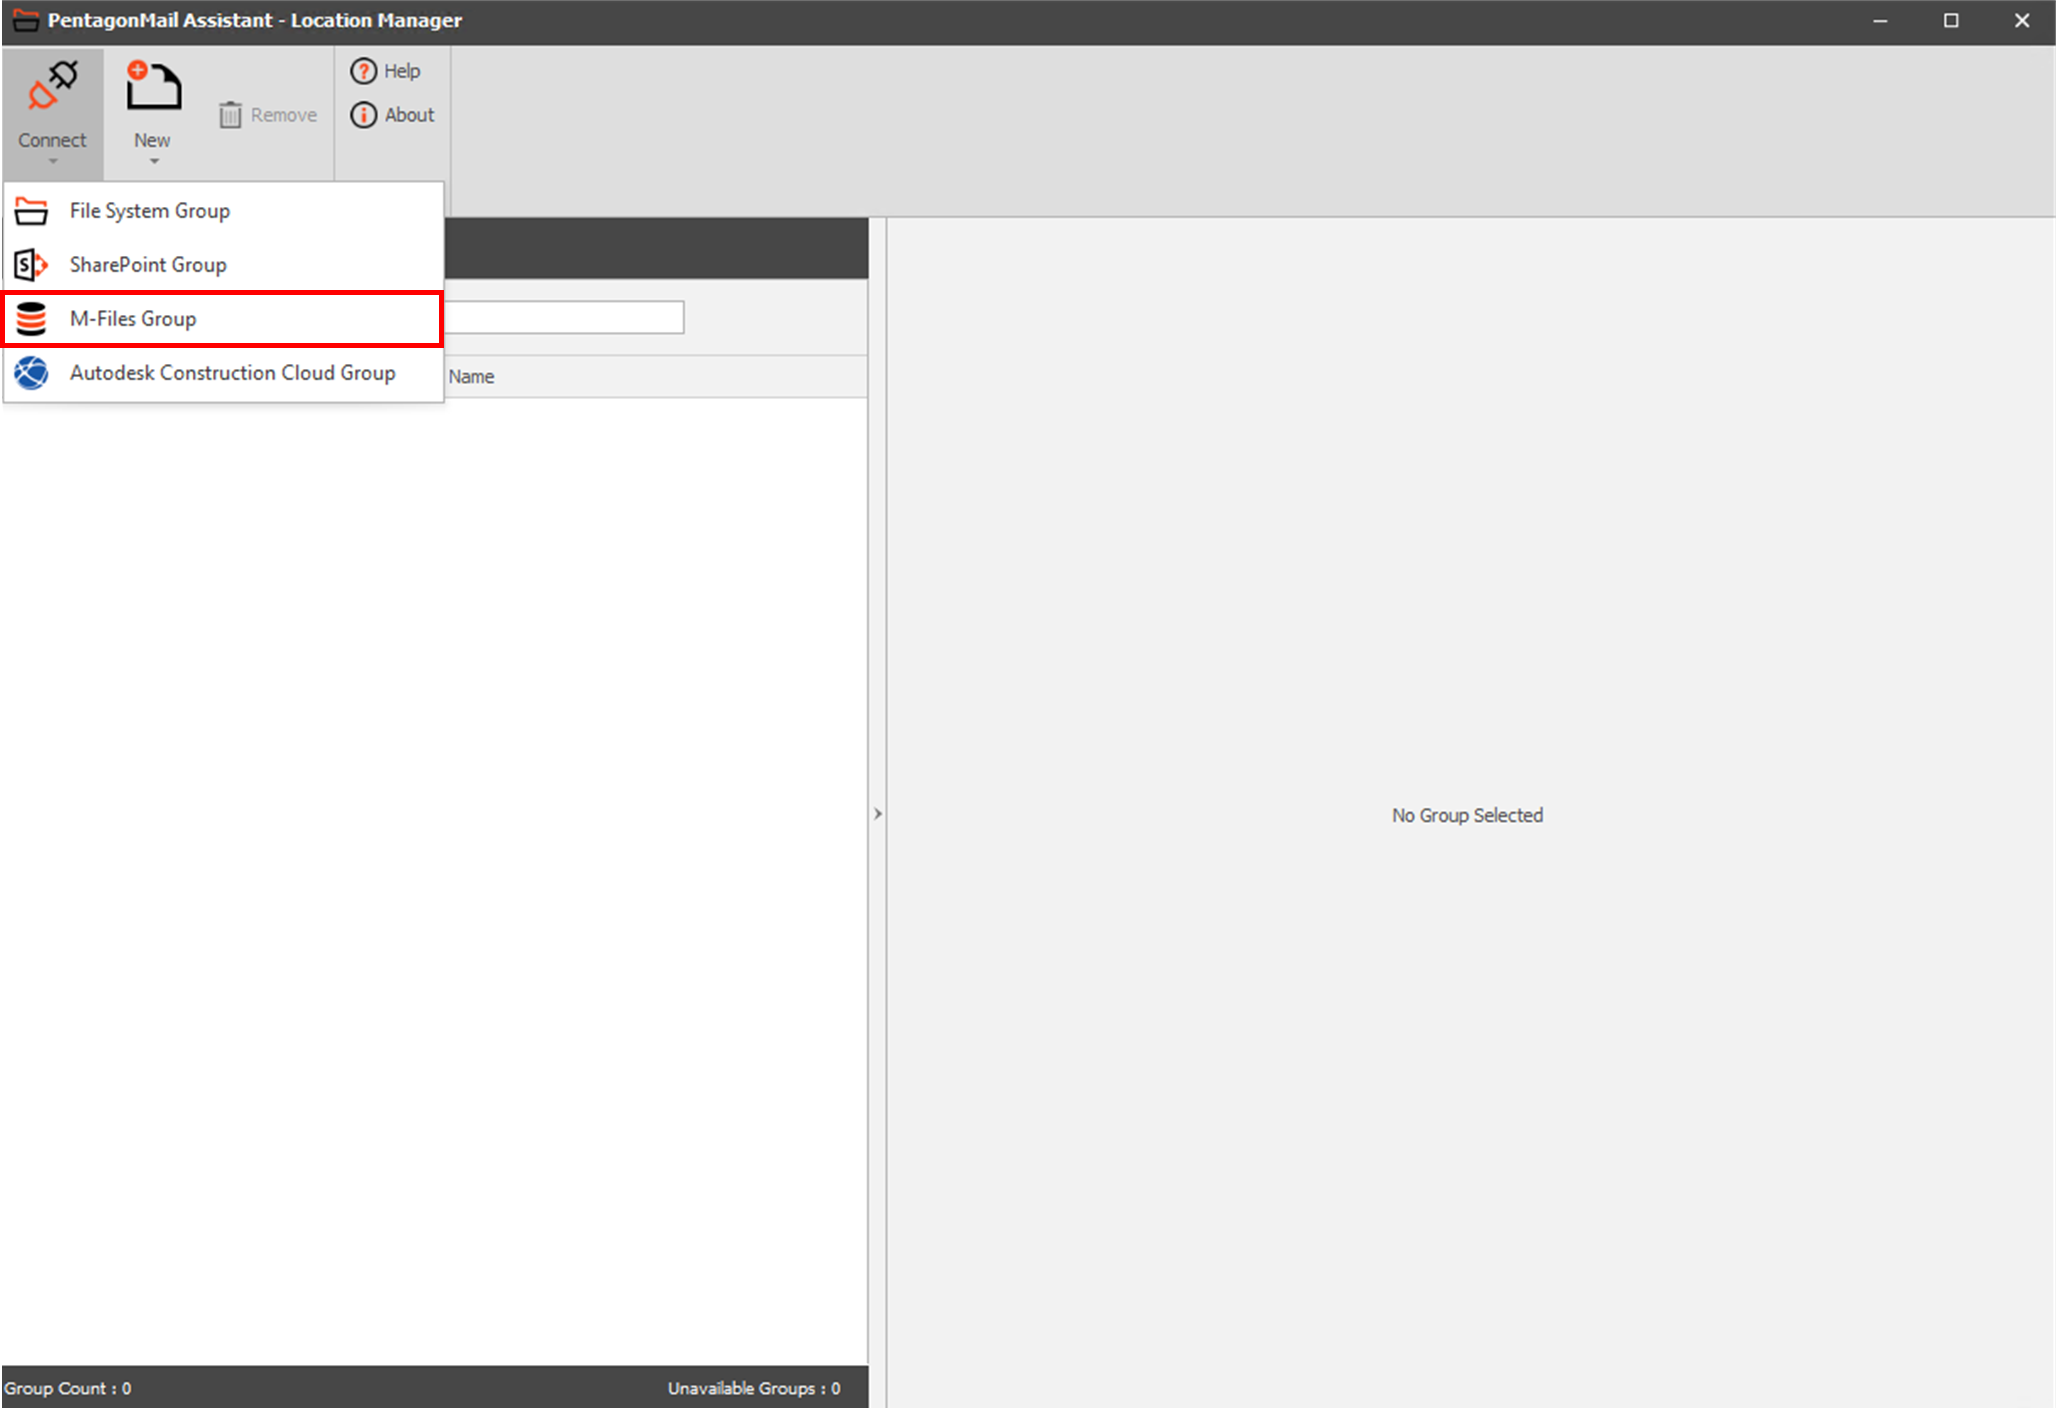
To load a list of filing Locations you will need to connect to a Group that contains them via the Location Manager. This simply involves selecting the vault and then the Group that you want to use.

File to a location and search for filed messages
When you file to a location, PentagonMail Assistant will both file the message into that location and index all the messages in that location, not just the one you have filed but all of them, so that when you next search for messages in that location, you get instantaneous results.
So your next step is to file a test message to a location (you may need to ask a colleague where would be best), and then search that location.
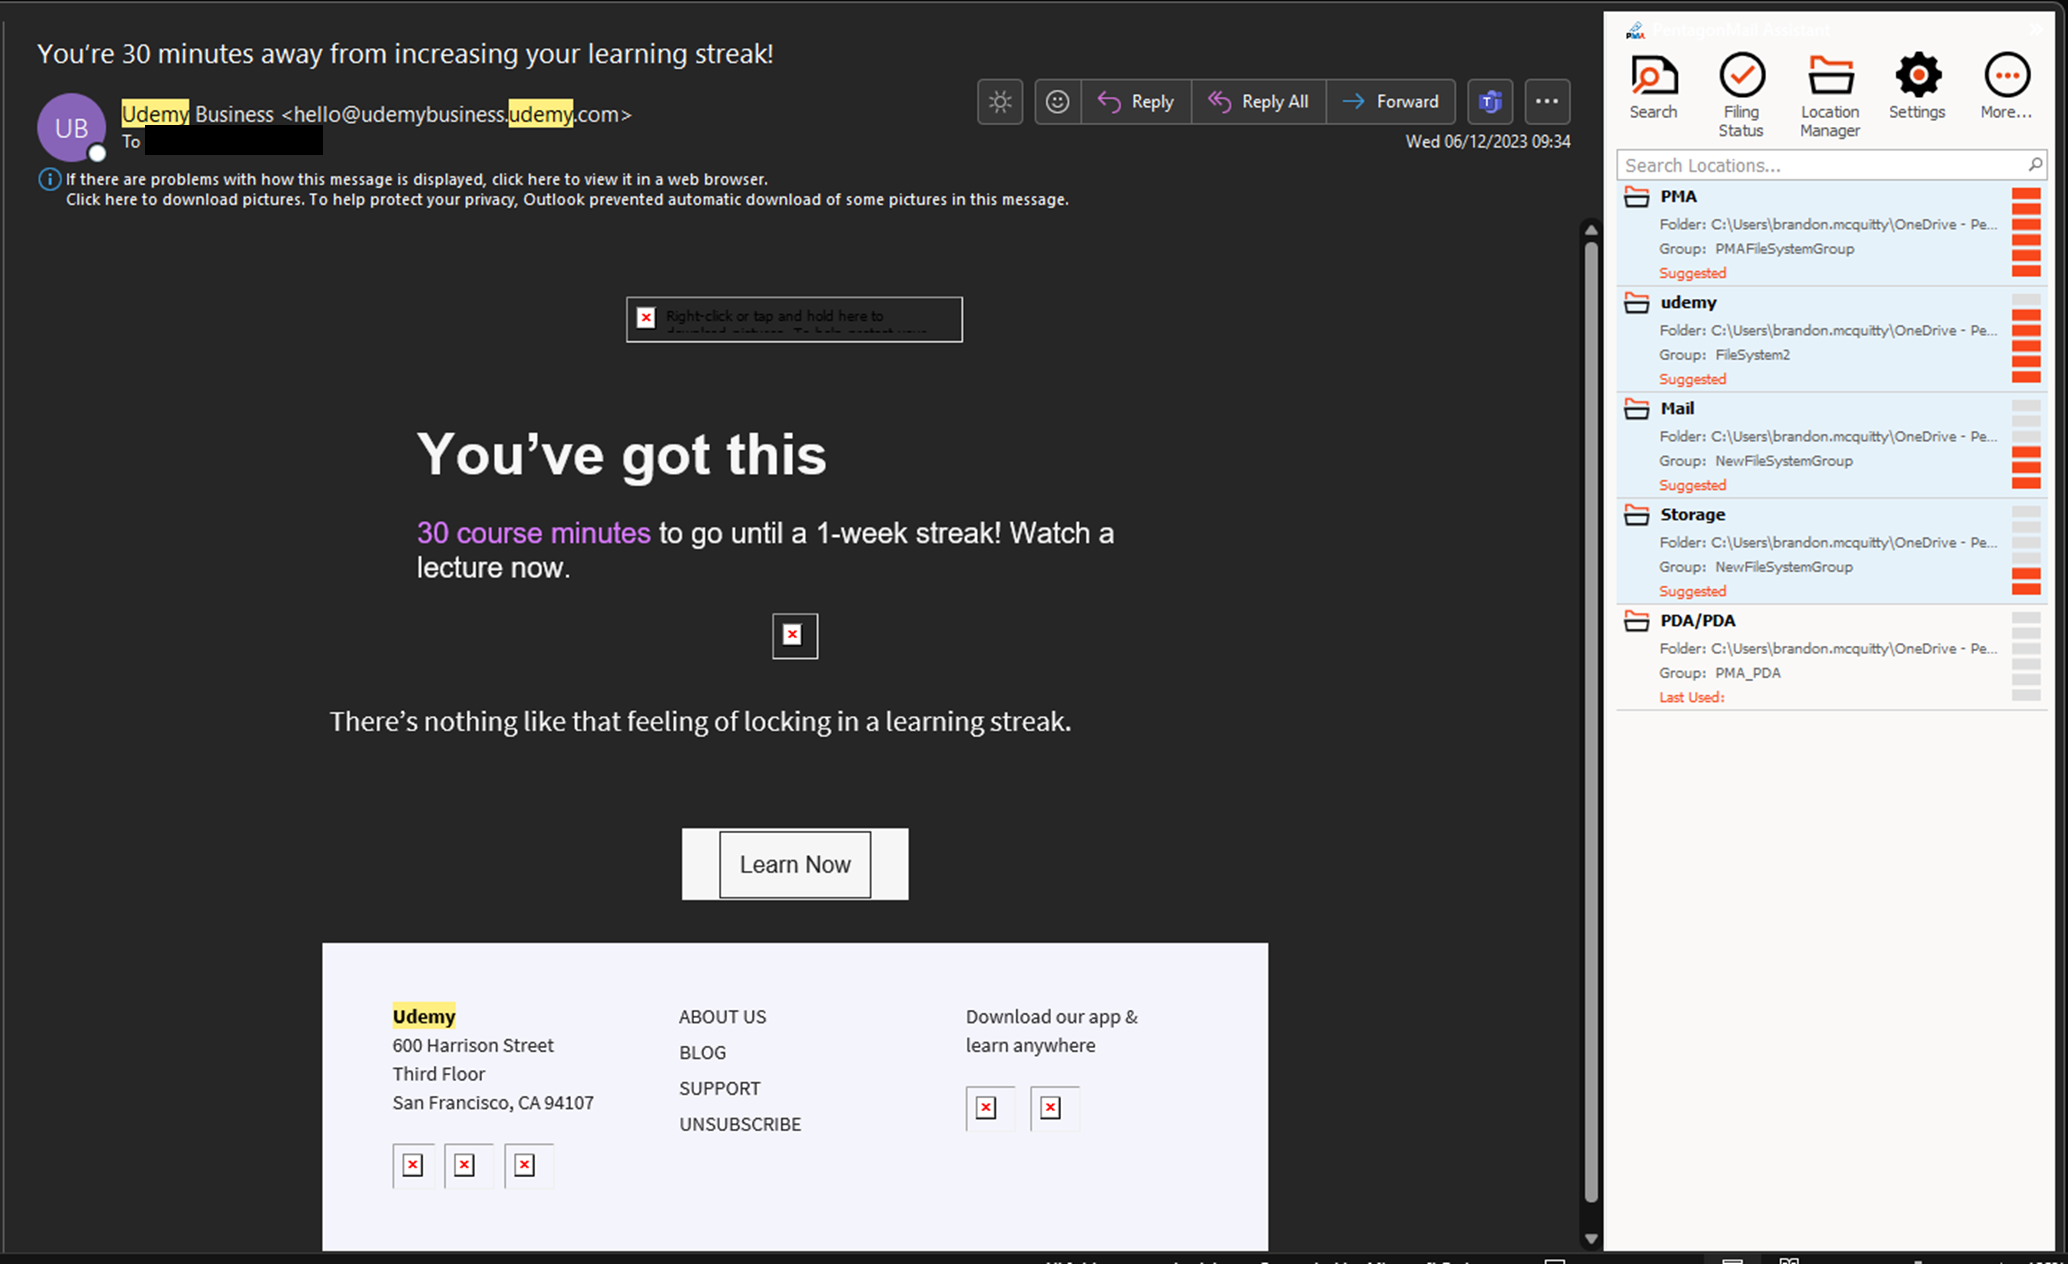
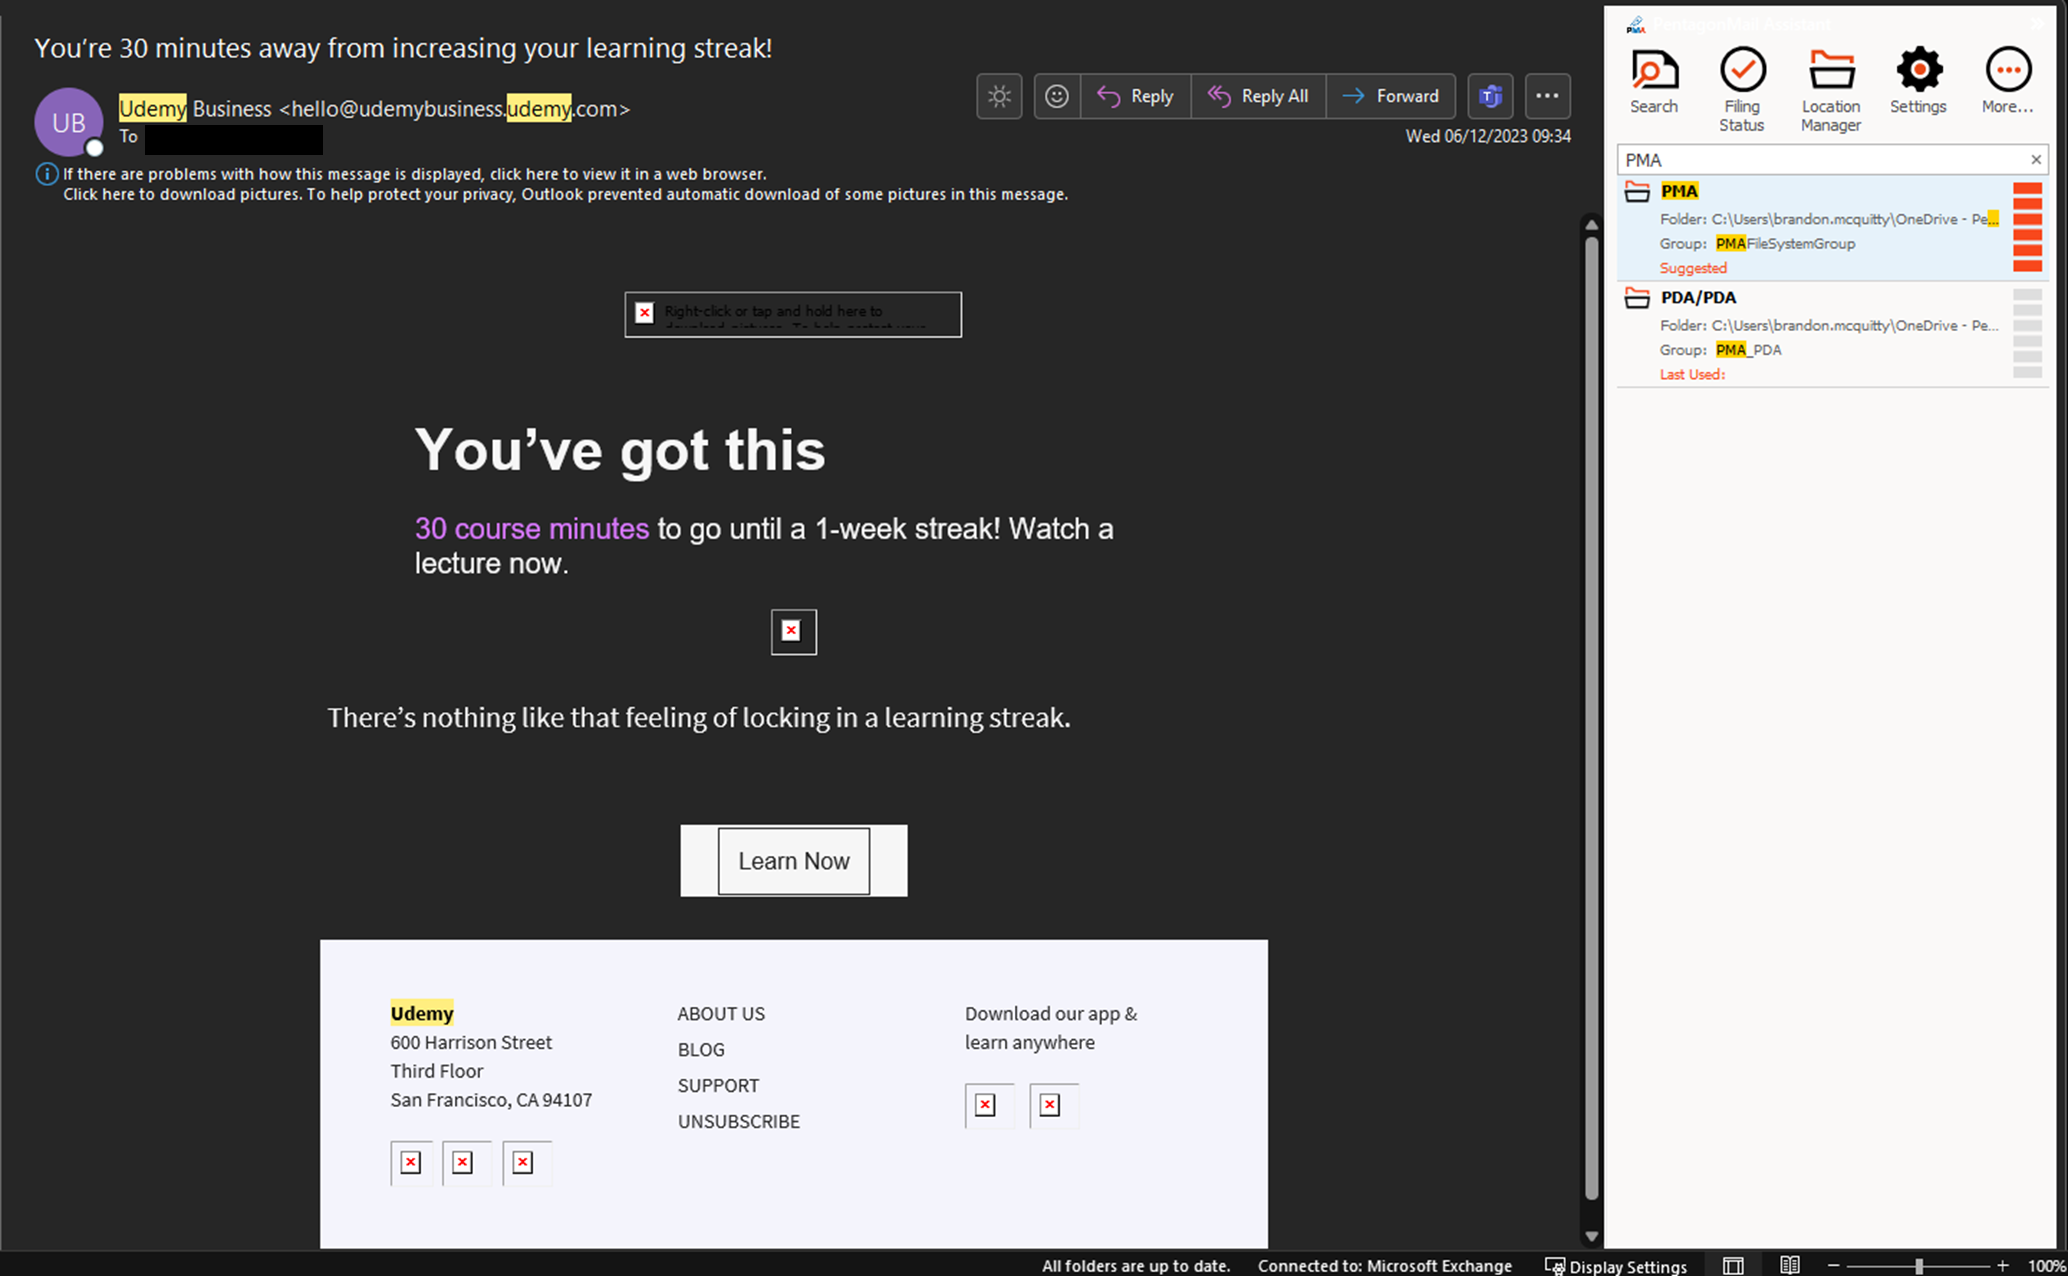
In this example, we have 3 educational messages to file. Note how PentagonMail Assistant initially does not suggest any location but once we have filed the first message it suggests the "PMA" location for the other two (the orange bars indicate it's confidence in where you might wish to file the message). In the example, we are filing to Windows folders but the principles are the same when filing to M-Files.
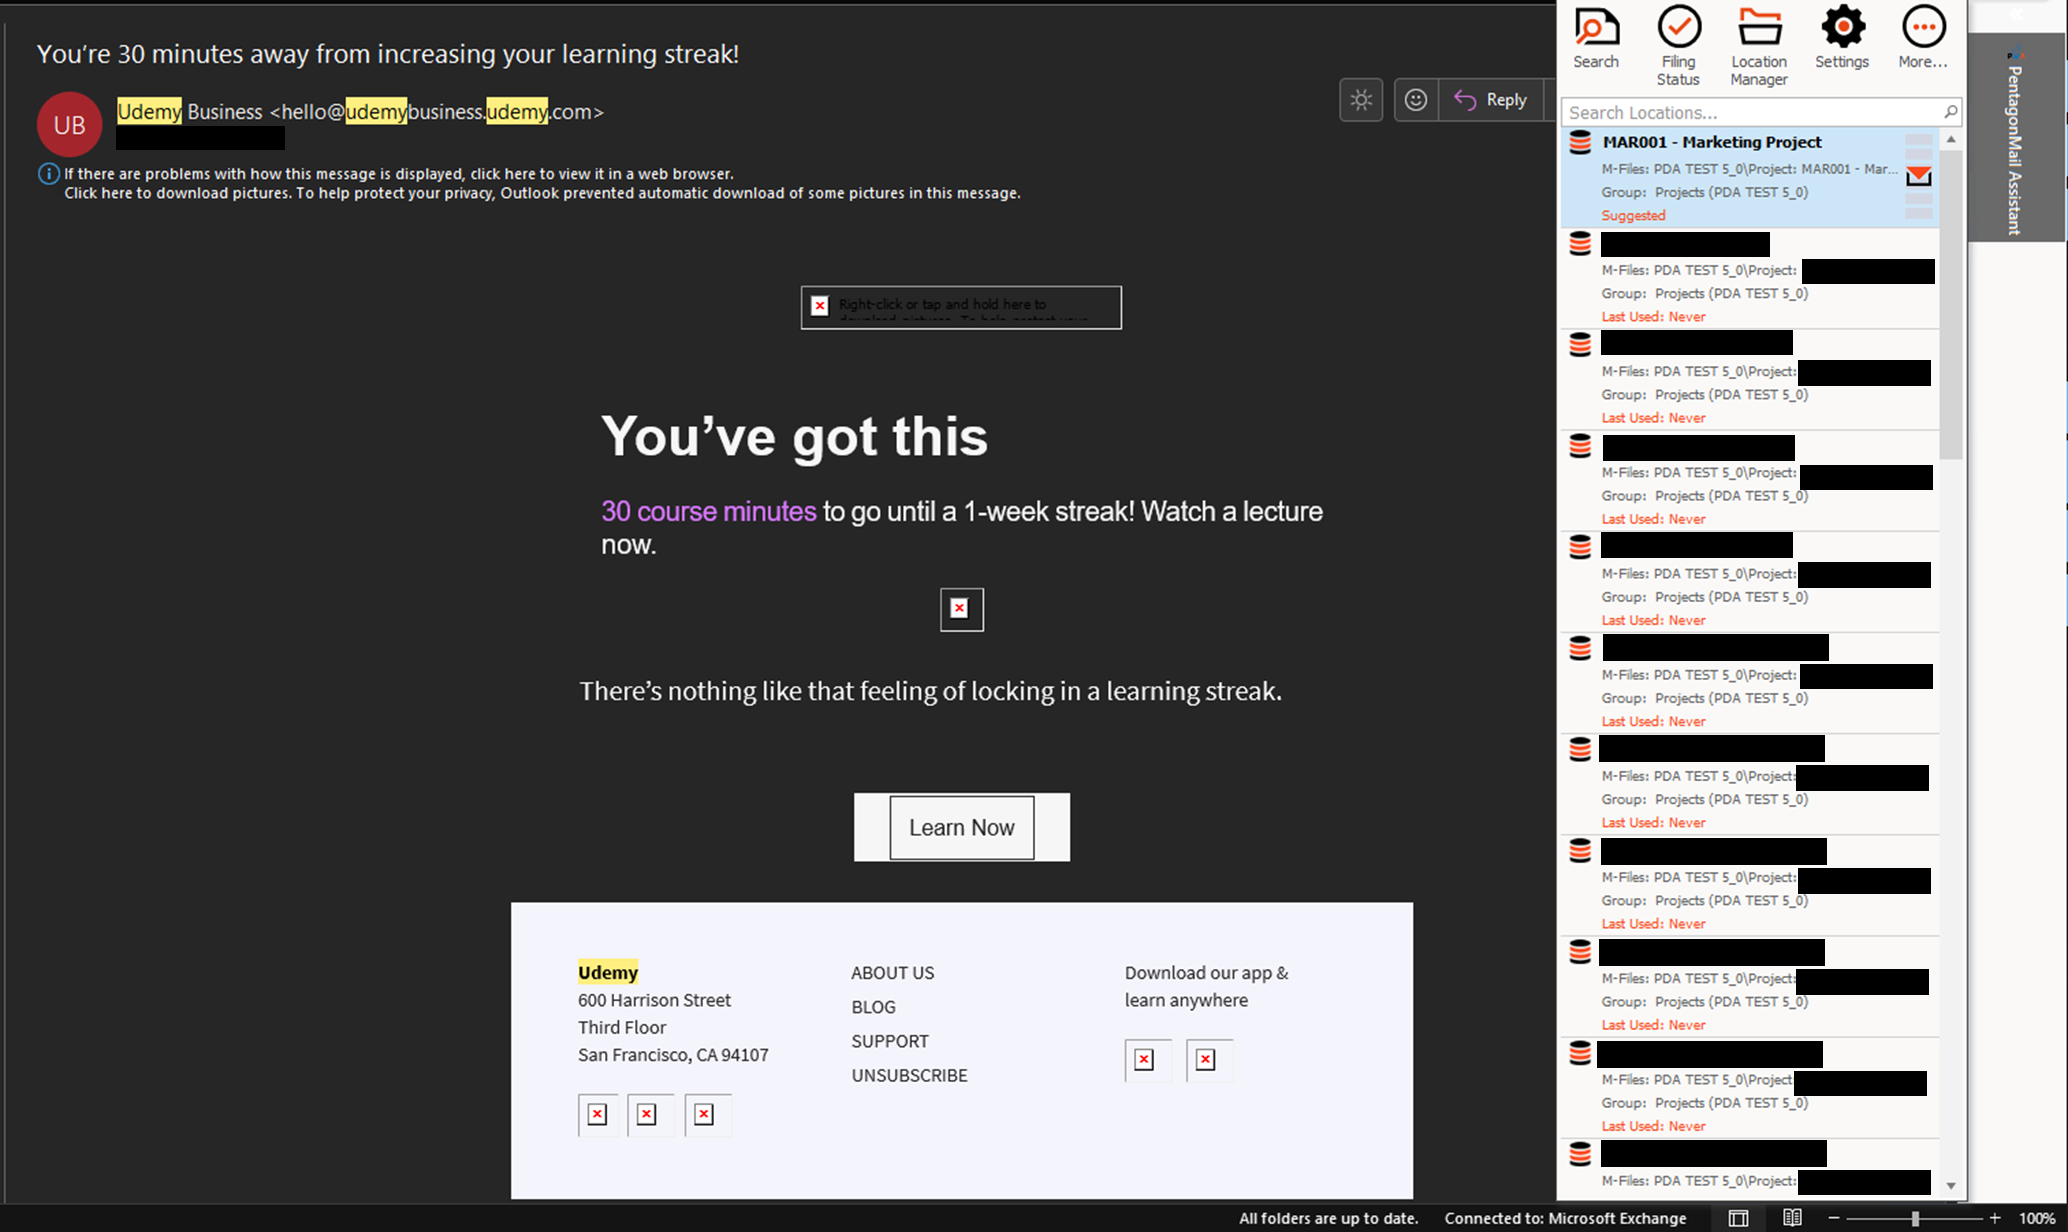
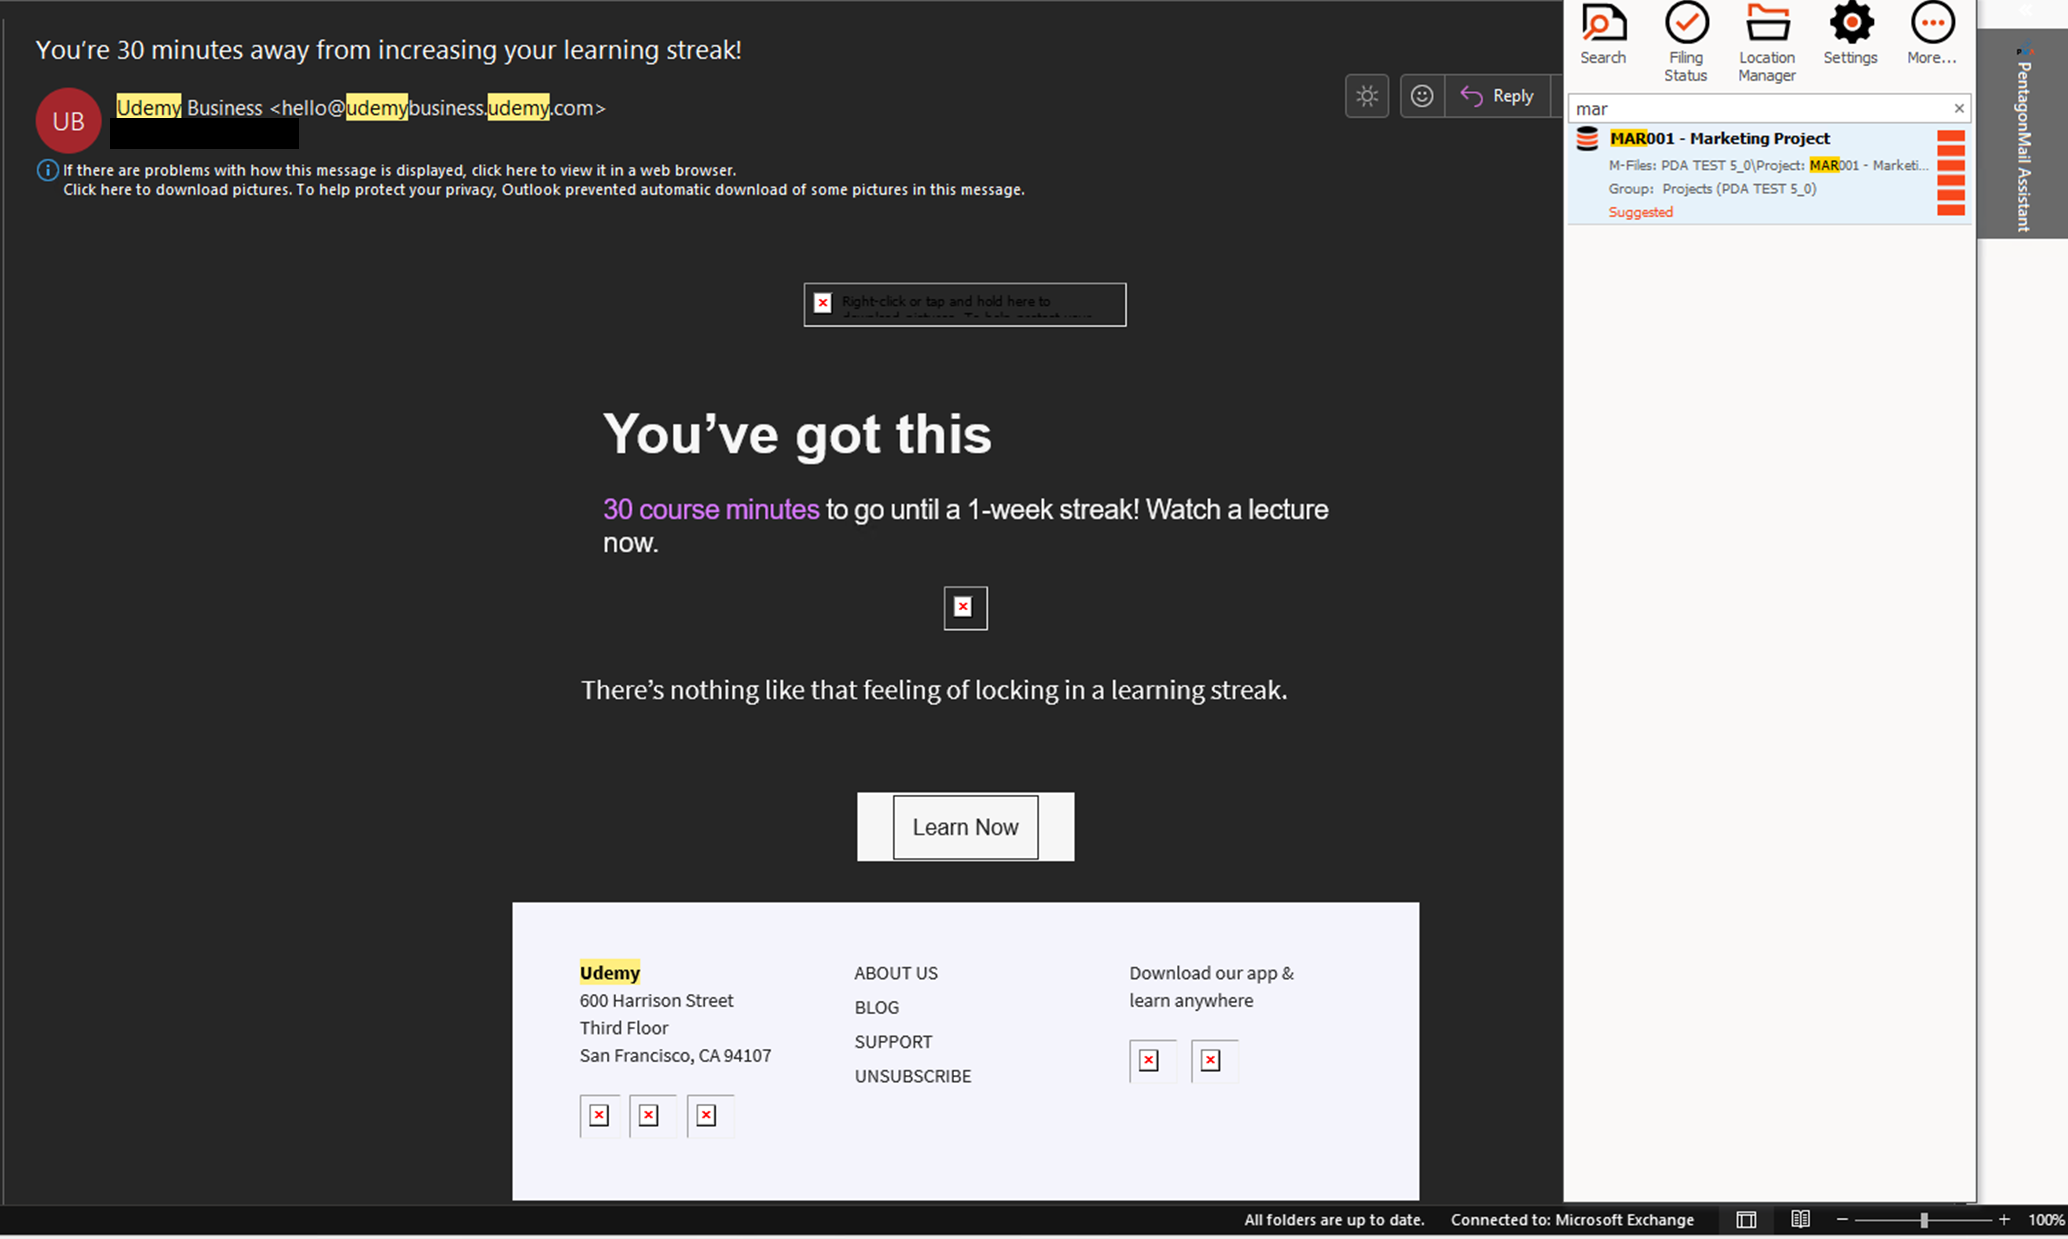
Once PentagonMail Assistant learns your filing behaviours it will make better suggestions. In the following example messages are filed to both Windows folders and M-Files, both individually and in bulk.
You can either search for a location by starting the search tool and then filtering on the location, or you can right-click a location and select Search which will open a search window with the location entered for you..
Congratulations, you are ready to start using PentagonMail Assistant. We have just covered the basics, so to learn some key capabilities watch the video tutorials or if you want to get as much as possible from the tool, look through this documentation and in particular the Search section.

