Trial with SharePoint
You have successfully installed PentagonMail Assistant. So firstly a big Thank you! from us for showing your interest. We hope that you like the software and find the next steps easy, but if you have problems or just want to ask a question, please either email support@pentagonsolutions.com or phone us on +44 (0)2890 455355 (Option 3).
The next steps are to:
- Acquire a trial license
- Create a filing 'Group'
- Add filing locations
- File to the locations and search for filed messages
Acquire a trial license
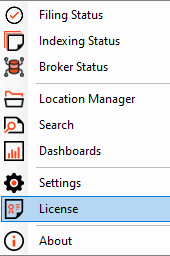
Click the PentagonMail Assistant tray icon  and then select "License".

If the license won't activate see Licence won't activate advice
Create a filing Group
To create a new SharePoint Group, launch the Location Manager either from the main menu in Outlook;
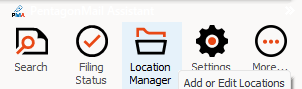
or from the tray icon in the bottom right corner of your screen.

Select New and then SharePoint Group.
As shown in the image below, you will need to provide: the filename and path location for the group file, the internet address of your SharePoint site, your username and password.
Note that you have to Test Connection before you can select a document library.
Add your filing locations
Select the SharePoint Group that you just created, then from the ribbon menu pick Add Locations and select the folders that you want to add.
In the recording below you will see that the names of the locations are taken from the name of the folder. If you want to change the name just double-click the name, edit it and then select Save Group from the ribbon menu.
File to a location and search for filed messages
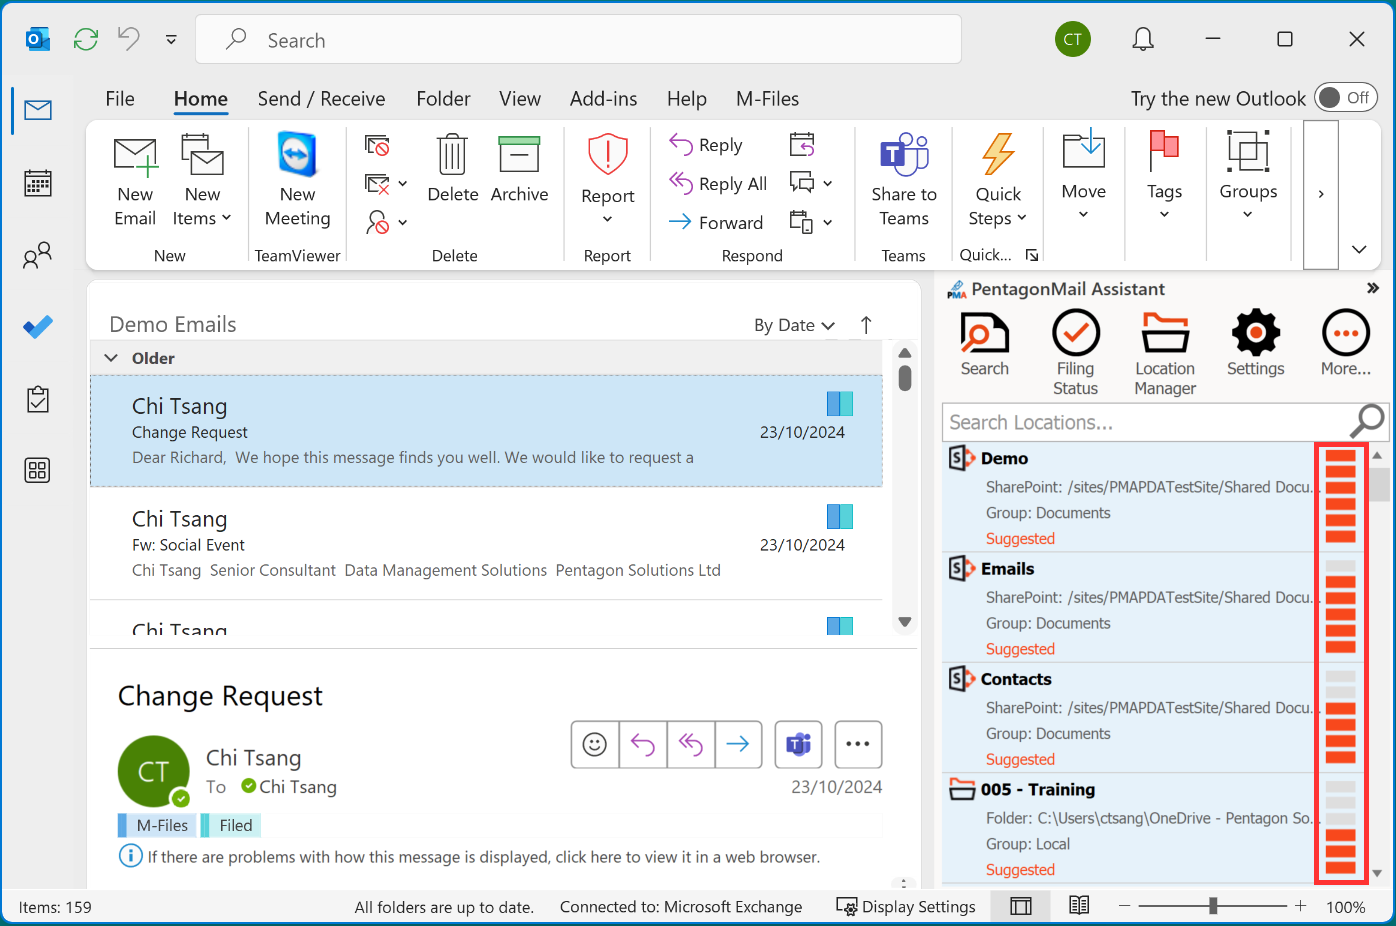
When you file to a location, PentagonMail Assistant will both file the message into that location and index all the messages in that location, not just the one you have filed but all of them, so that when you next search for messages in that location, you get instantaneous results.
So your next step is to file a test message to a location (you may need to ask a colleague where would be best), and then search that location.
In this example, we have 3 social messages to file. Note how PentagonMail Assistant initially does not suggest any location but once we have filed the first message it suggests the Social location for the other two (the blue bars indicate it's confidence in where you might wish to file the message).
Once PentagonMail Assistant learns your filing behaviours it will make better suggestions. In the following example messages are filed to both Windows folders and M-Files, both individually and in bulk.
Some security systems can misinterpret PentagonMail Assistant's connection to Outlook and background indexing as potential threats, so if you encounter an error please don't assume the software has failed, instead ask your IT experts to white-list our software.
Please let them know that there are four background processes:
PentagonMailAssistant.BackgroundFiler.exe
PentagonMailAssistant.Launcher.exe
PentagonMailAssistant.Indexer.exe
PentagonSolutions.MailAssistant.Broker.exe - if using PMA with New Outlook
And also tell them that there is an Outlook Add-in named PentagonMail Assistant Outlook Addin
You can either search for a location by starting the search tool and then filtering on the location, or you can right-click a location and select Search which will open a search window with the location entered for you..
Congratulations, you are ready to start using PentagonMail Assistant. We have just covered the basics, so to learn some key capabilities watch the video tutorials or if you want to get as much as possible from the tool, look through this documentation and in particular the Search section.