How does it work?
To set up an Autodesk Construction Cloud (ACC) or BIM 360 location for interfacing with your projects, follow these step-by-step instructions:
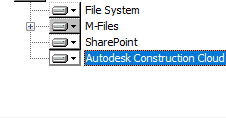
- Install the ACC Filer:
- Ensure that you select the ACC filer to install during setup. This filer will not be installed by default, so it's important to make this selection during installation.
- Setup ACC or BIM 360 Location:
- Choose a suitable name for the group configuration file.
- Use the provided API address without making changes (this will be locked in future releases).
- Use the following Client ID and Secret provided to access test projects:
- Client ID: [Client ID]
- Secret: [Secret]
- Click "Test Connection" and wait a couple of seconds for the message "Connection Successful."
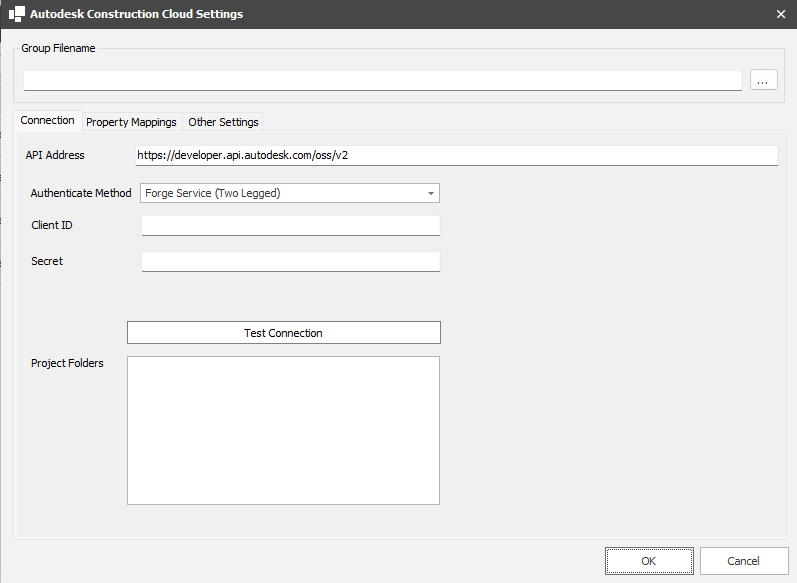
(This is the interface where this information should be entered)
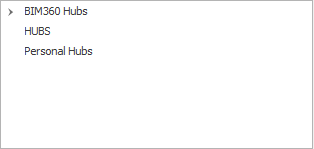
- Select Project and Mapping:
- Expand "BIM360 Hubs" and choose the desired hub.
- Choose one of the available projects.
- Click on "Property Mappings" to view available attributes.
- Assign mappings by selecting an Email Property and choosing an ACC attribute to map to it.
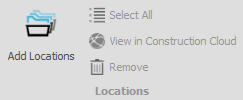
- Add Location (Folder) to Group:
- Click "Add Locations."
- Navigate to the desired folder structure (e.g., Project Files) and select the folder to add.
- Click "Add."
- Save Group:
- After configuring settings and adding locations, don't forget to click "Save Group" to apply changes.

- Start Filing:
- Once the setup is complete, you can file to ACC/BIM360 as usual, leveraging the configured settings and mappings for seamless integration.
Follow these steps to effectively set up an ACC or BIM 360 location, enabling efficient project management and collaboration within the Autodesk Construction Cloud ecosystem. Ensure to replace placeholders like [Client ID] and [Secret] with actual credentials provided for accessing test projects.